Photography, as we know it, came into existence only in the 19th century. But the word photograph unfolded from the Greek words phot meaning light and graph meaning writing. Hence, photography, which we associate with taking pictures, is essentially writing with light, that requires knowlwdgw about lighting and photography lighting equipment.
The best way to take complete control over your photography is by understanding light and how it works. Lighting is, however, more complex than the various controls on your camera. Light passes through some objects while it bounces off others, creating large or small shadows. Lighting also plays a decisive role in the colors of the image.
Different Types of Lighting
Natural light and artificial light are the two main kinds of light. Any light that occurs without human intervention is natural light. Some examples include the direct light of the sun’s rays on a sunny day, the diffused light on a cloudy or foggy day, or the gentle moonlight at night. You cannot move natural light around, but you’ll need to move the subject.
Artificial light, on the other hand, is different. You can move it around and adjust it to suit your situation. It’s also easy to place artificial light at the most appropriate position in relation to your subject. But with natural lighting, you’ll need to move the subject to suit the lighting. You can manipulate both artificial and natural lighting to create numerous styles of lighting.

Outsource Photo Editing Services
Picsera offers photo editing and retouching, so you can focus on your business instead. Spend a fraction of the cost, time, and effort of photography with Picsera. Click here to find out more.
Natural Light
You need to understand the various angles of the sun and how each angle will affect your composition to use natural light optimally in your photography. For instance, for the most part of the day, the sun is over the top of your subject. Therefore, your subject is lit from above. This means, on a cloudless day, the contrast of light on the subject is harsh, and shadows tend to be more intense. But on a cloudy day, sunlight will be diffused, and the contrast of light on the subject is not harsh. And the shadows also tend to be less intense.
With this observation, you can make the best use of soft natural lighting during the hours closest to sunrise and sunset. During these hours, the position of the sun is at a slight angle above your subject as opposed to directly above it during the remainder of the day. The advantage is the brightness of the sun tends to be less extreme.
You Don’t Need Any Photography Lighting Equipment During Golden Hour
The best natural light, without a doubt, is the ultra-soft light emanating over the horizon during the golden hours every day. Golden hour occurs during sunrise and sunset. The light during golden hour has an exquisite orange, pink, or yellow tinge, which can be very favorable or even flattering to your subjects.
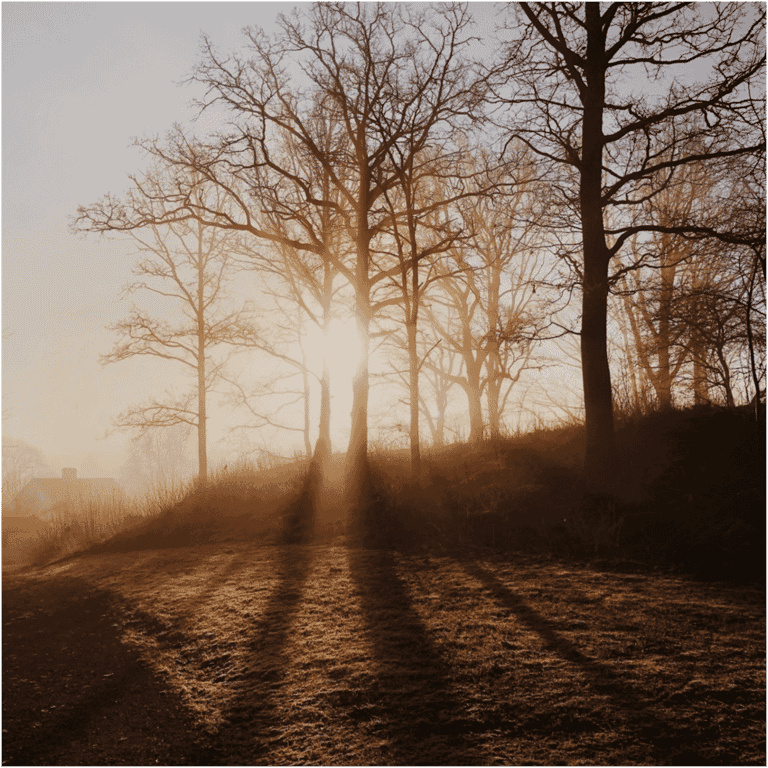
Golden hour light is typically diffused, which lights your subject’s face much better than the unidirectional light that’s present during the rest of the day. If your clients aren’t free during golden hour, the next best thing is to pick a location with shade. The advantage of taking a photograph during golden hour is the sun is at a low angle, offering you tremendous freedom to choose an ideal location to shoot outdoors.
Artificial Light
Any light source that isn’t naturally occurring is artificial light. Examples of artificial light include LED light, studio strobe, pop-up flash of the camera, speedlight, streetlight, or table lamp. Technically, all light sources other than sunlight, moonlight, and starlight are artificial.
While artificial light sources may sound elaborate and expensive, they are not. It’s true that premium professional-grade strobes are expensive. But you can also buy inexpensive DIY solutions. Some lights do have complex settings, but most lights are relatively simple to use. The easiest to use is the continuous lighting LED lights, as they have simple dimming switches.
Let’s take a quick look at the 5 main types of artificial lights used in photography.
1. Strobes
A strobe, also known as a monolight, is the industry standard for studio lighting. A strobe light emits a bright burst of light that’s comparable to on-camera flash photography. The key difference is a strobe flash is much brighter and generates an intense short burst of light. Since this independent flash unit requires a lot of power, it’s usually AC-powered.
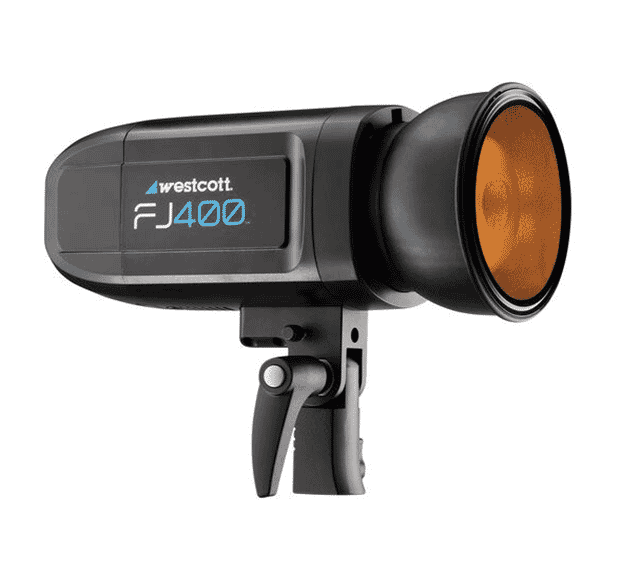
Strobe lighting is perhaps the most commonly used artificial light in photography. But since the duration of the flash is very short, strobe lighting isn’t suitable for video.
A strobe can be expensive because it requires a lot of accessories, such as stands, light modifiers, and replacement bulbs. This photography lighting equipment is also bulky, and since it runs on AC power, it’s challenging to use it in settings other than a photography studio. Common light sources for a strobe kit include xenon flash lamps, halogen lights, and LED lights.
The main advantage of a strobe is its quick recycle time. The full power output can vary from 100 to 1,000 watts. If you purchase a strobe with higher power output, you can use it effectively over a longer distance. Another useful feature available in some models is the ability to adjust the output to capture close-ups with low-intensity light.
2. Continuous Lighting
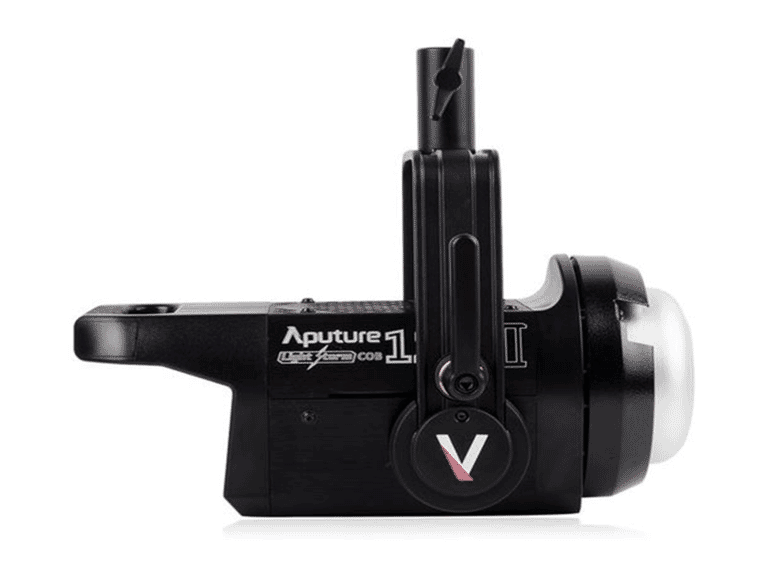
Continuous lights, also known as hotlights, are always on. These bright, high-powered lamps don’t flash. Continuous lights are an inexpensive option that’s ideal for beginners. Since the lights are always on, you have a clear visual of how your subject will look before you shoot. Another advantage of using a continuous light kit is that beginners find adjusting white balance much simpler.

Photography Coaching Via Zoom
Have the right tools but don’t know how to properly position your apparel? Get access to the basics, tips, and secrets to taking picture-perfect apparel shots with Picsera’s Photography Zoom Coaching. Click here to find out more.
3. Speedlight
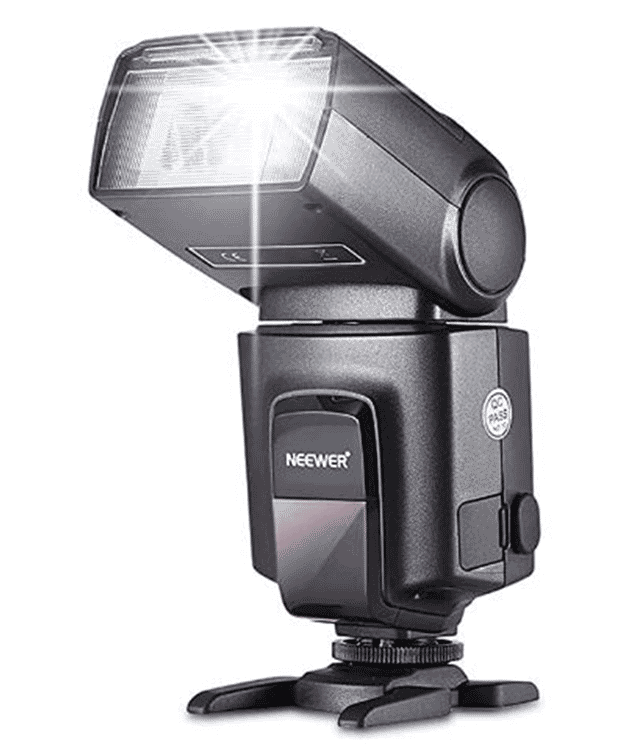
Compared to a standard camera flash, this photography lighting equipment produces a much faster flash. You’ll also need to use light modifiers, such as flash diffusers with them. You can use speedlights on camera or off. You can also link several speedlights together to flash simultaneously, creating a mini studio on the go. The main downside of speedlights is they are not as powerful as strobe lights. You’ll also need to recharge them often, as they run off of batteries.
The main advantage of using an external flash is it allows you to rotate the flash head. This action, in turn, “bounces” light off a suitable object, such as a wall or ceiling. When you rotate the flash head and bounce light from a wall or ceiling, you get a larger light source. This light will also be much softer than the light that the onboard flash can give you.
You don’t need to invest a lot of money on a speedlight. Buying the original manufacturer’s flash is a great idea, although it’s slightly expensive.
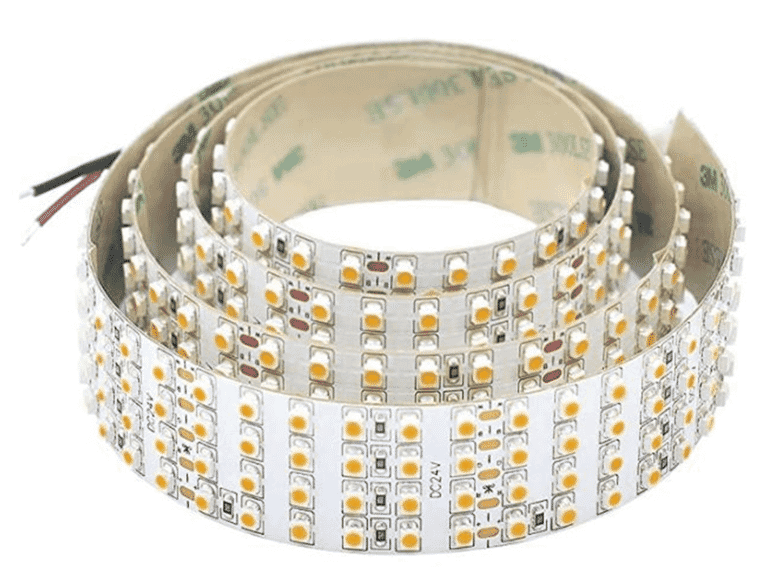
4. Striplight
5. Ring Light
A ring light, also known as ring flash or continuous ring lights, is a circle-shaped light. This light is designed to be placed right in front of a subject. You then capture your photos by positioning your camera in the ring center. You can use a ring light to terrific effect and capture interesting portraits.
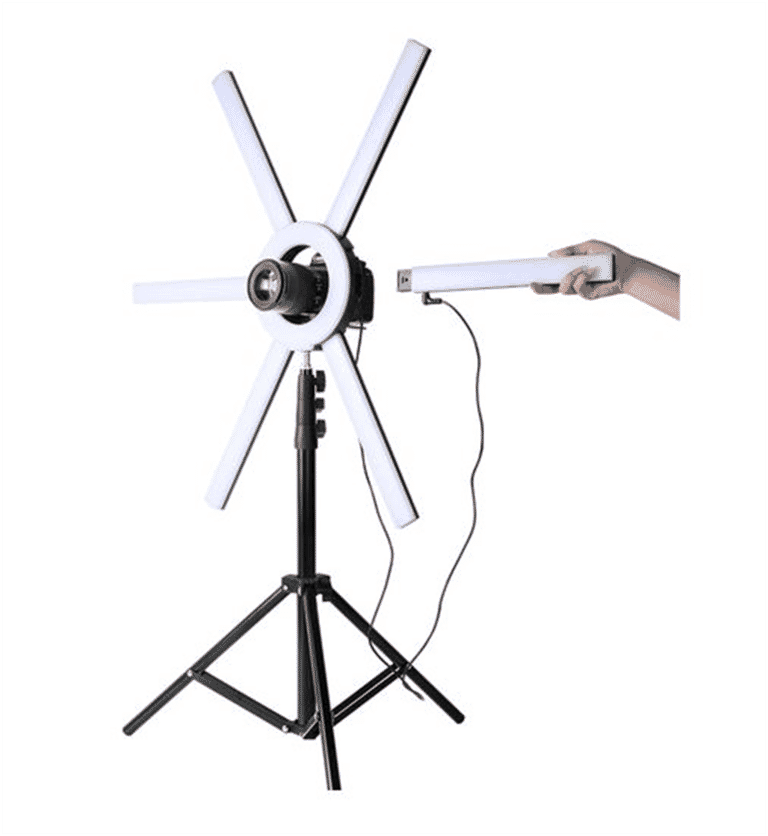
Other light sources tend to produce bright lighting on some parts of a subject and leave others in a harsh shadow. In contrast, a properly set up ring light will light up all the surfaces uniformly. With this inexpensive photography lighting equipment, you can produce high-quality photographs and videos.
Compared to fluorescent ring lights, LED ring lights use less power and last longer. LED ring lights also have a softer effect. Dimmable ring lights offer you more versatility and better control of color temperature. Ring lights are also available in a wide range of prices.
In Summary
It doesn’t matter what you start with—a strobe, continuous lights, speedlight, striplights, or ring light. You can quickly accumulate the lighting modifiers and other lighting gear you’ll need inexpensively.
Unlike natural lighting, artificial lighting costs money. But regardless of the photography lighting equipment you buy, the fun is in experimenting on your own. Remember, it’s always about variation and refinement. You can easily elevate your photographs to new creative heights by altering the camera settings ever so slightly or changing the position of the subject or light source. Overall, you need lots of practice and patience to perfect your ability to properly light your subjects.
Need help with editing photos? Let us do the work for you. Start your FREE trial today!

Picsera was founded in 2014 by David Sinai, a serious ameteur photographer who spent the first 20 years of his career working in the financial technology space. With a track record of building innovative solutions and working with offshore partners, David started Picsera to help photographers work more efficiently by enabling them to outsource their image editing. With very affordable rates and incredibly fast turnaround times, photographers from a variety of industries (eCommerce, real estate, weddings and portrait studios) enjoy larger, more successful businesses while still maintaining more time for their families, friends, and hobbies. Today, David and his team at Picsera assist all kinds of content creators with 3D modeling and rendering and video editing. When David is not working you’ll find him spending time with his family, mountain biking, or capturing landscapes throughout South Florida with either his pro cameras or drone.


