In past articles, we’ve discussed the finer details of shooting jewelry. Now it’s time to move on and discuss how to photograph handbags.
If you take the time to set up your handbags and your lighting properly, you will create beautiful images that will accurately depict your product. To learn more about all of the essential photography equipment required for shooting great product photography keep on reading.
1. Your background is just as important as your product.
In general, a plain white background looks best and it’s the go-to look for selling products. The plain background keeps the buyer’s attention on your product. There are no distractions or extra information that can detract from the quality of your product.
If you’re looking to create a unique look, consider using a black background. But remember to include a background light to create separation. The look will be different from those of other e-commerce stores.
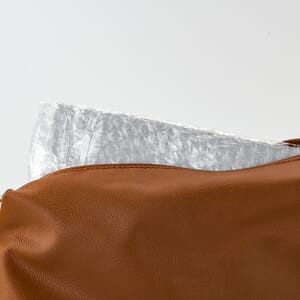
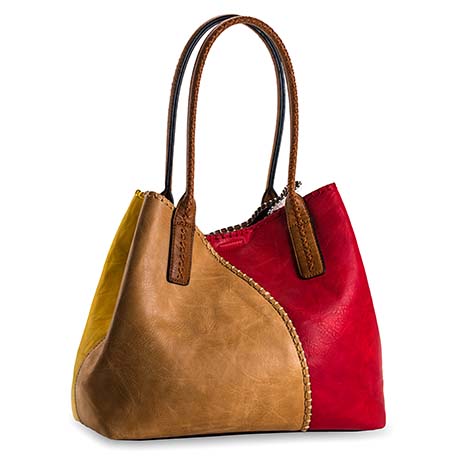
2. The type of handbag and the look you want to create will dictate how you stuff your handbags.
If you’re looking to create a “flat look” for your bags, you are going to need to use particular types of stuffing. However, you also need to consider the appearance of the bag. Certain bags look better when stuff with certain materials.
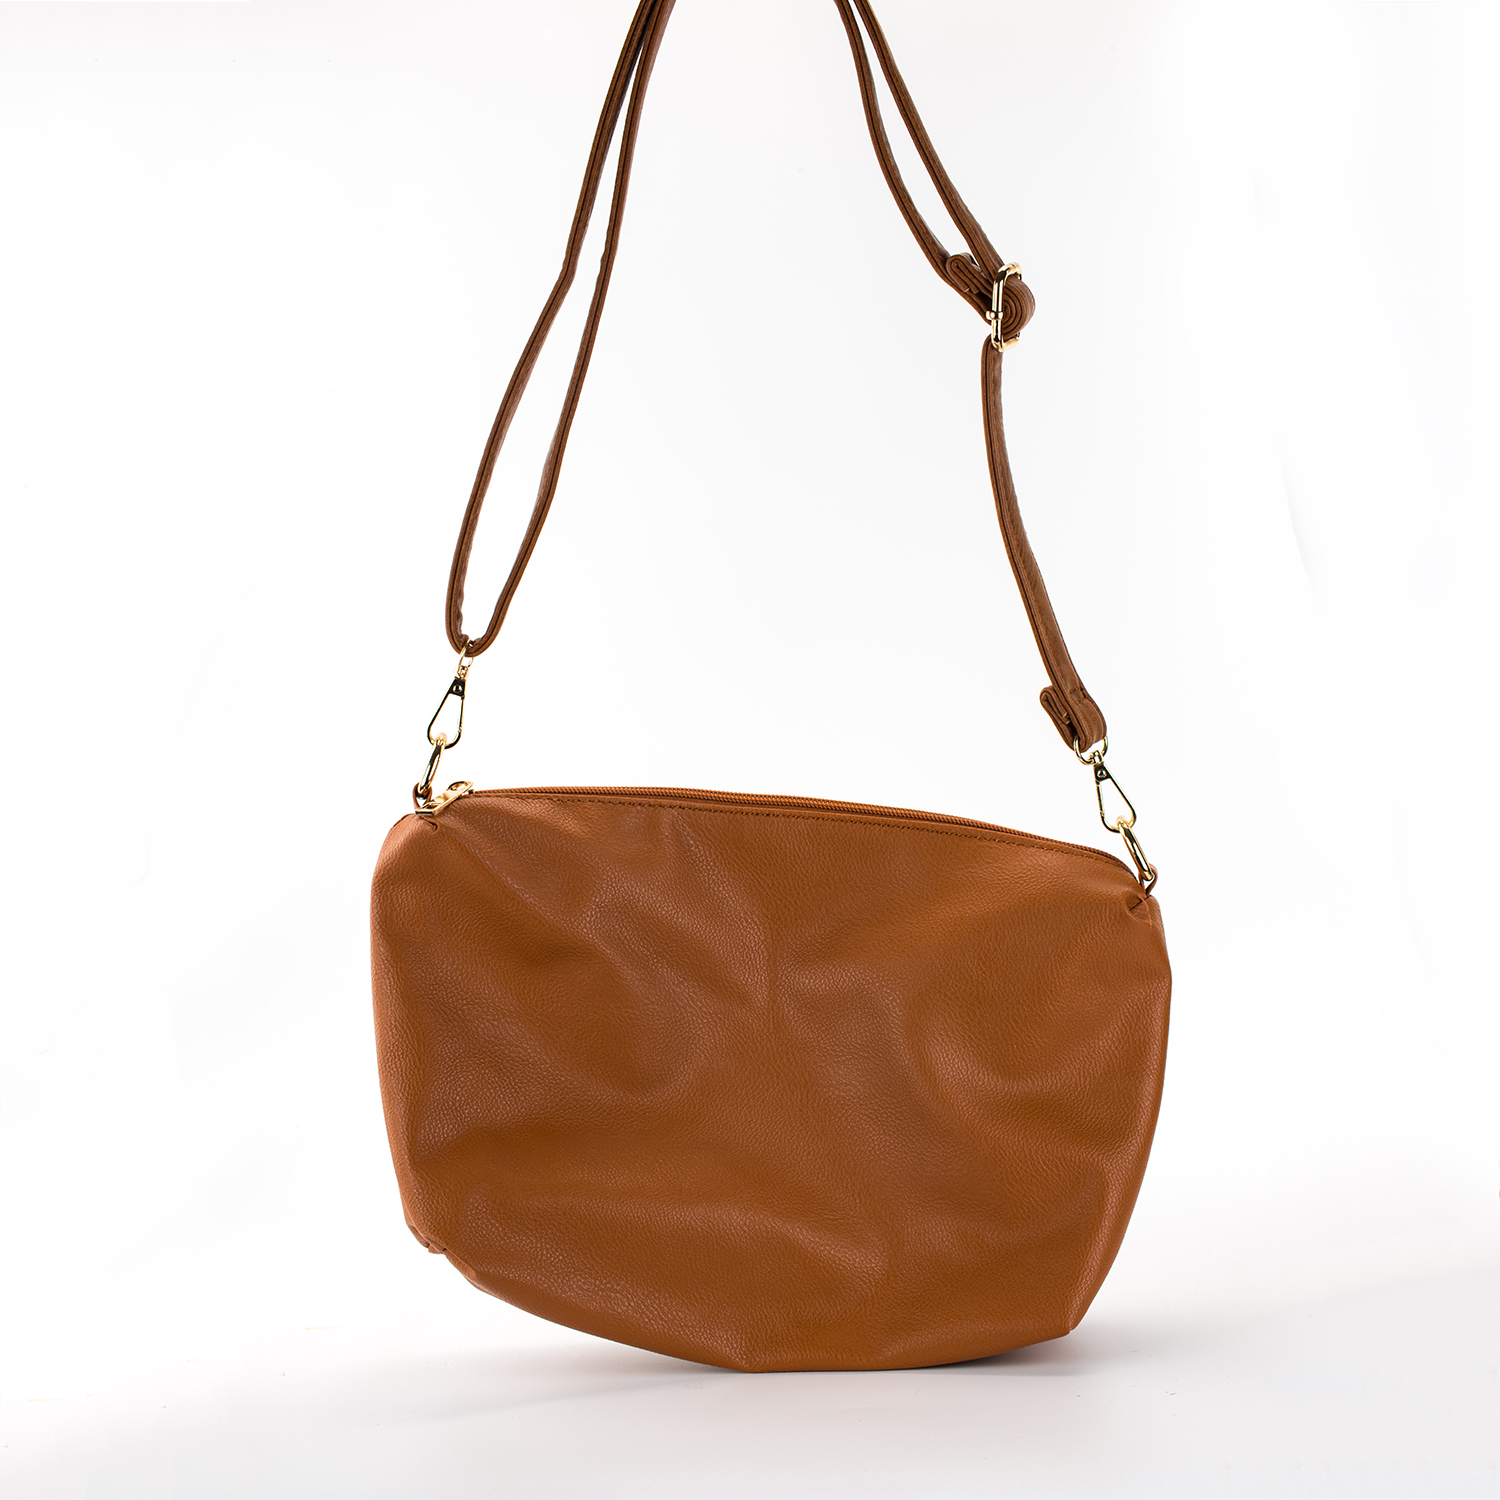
Handbag without stuffing
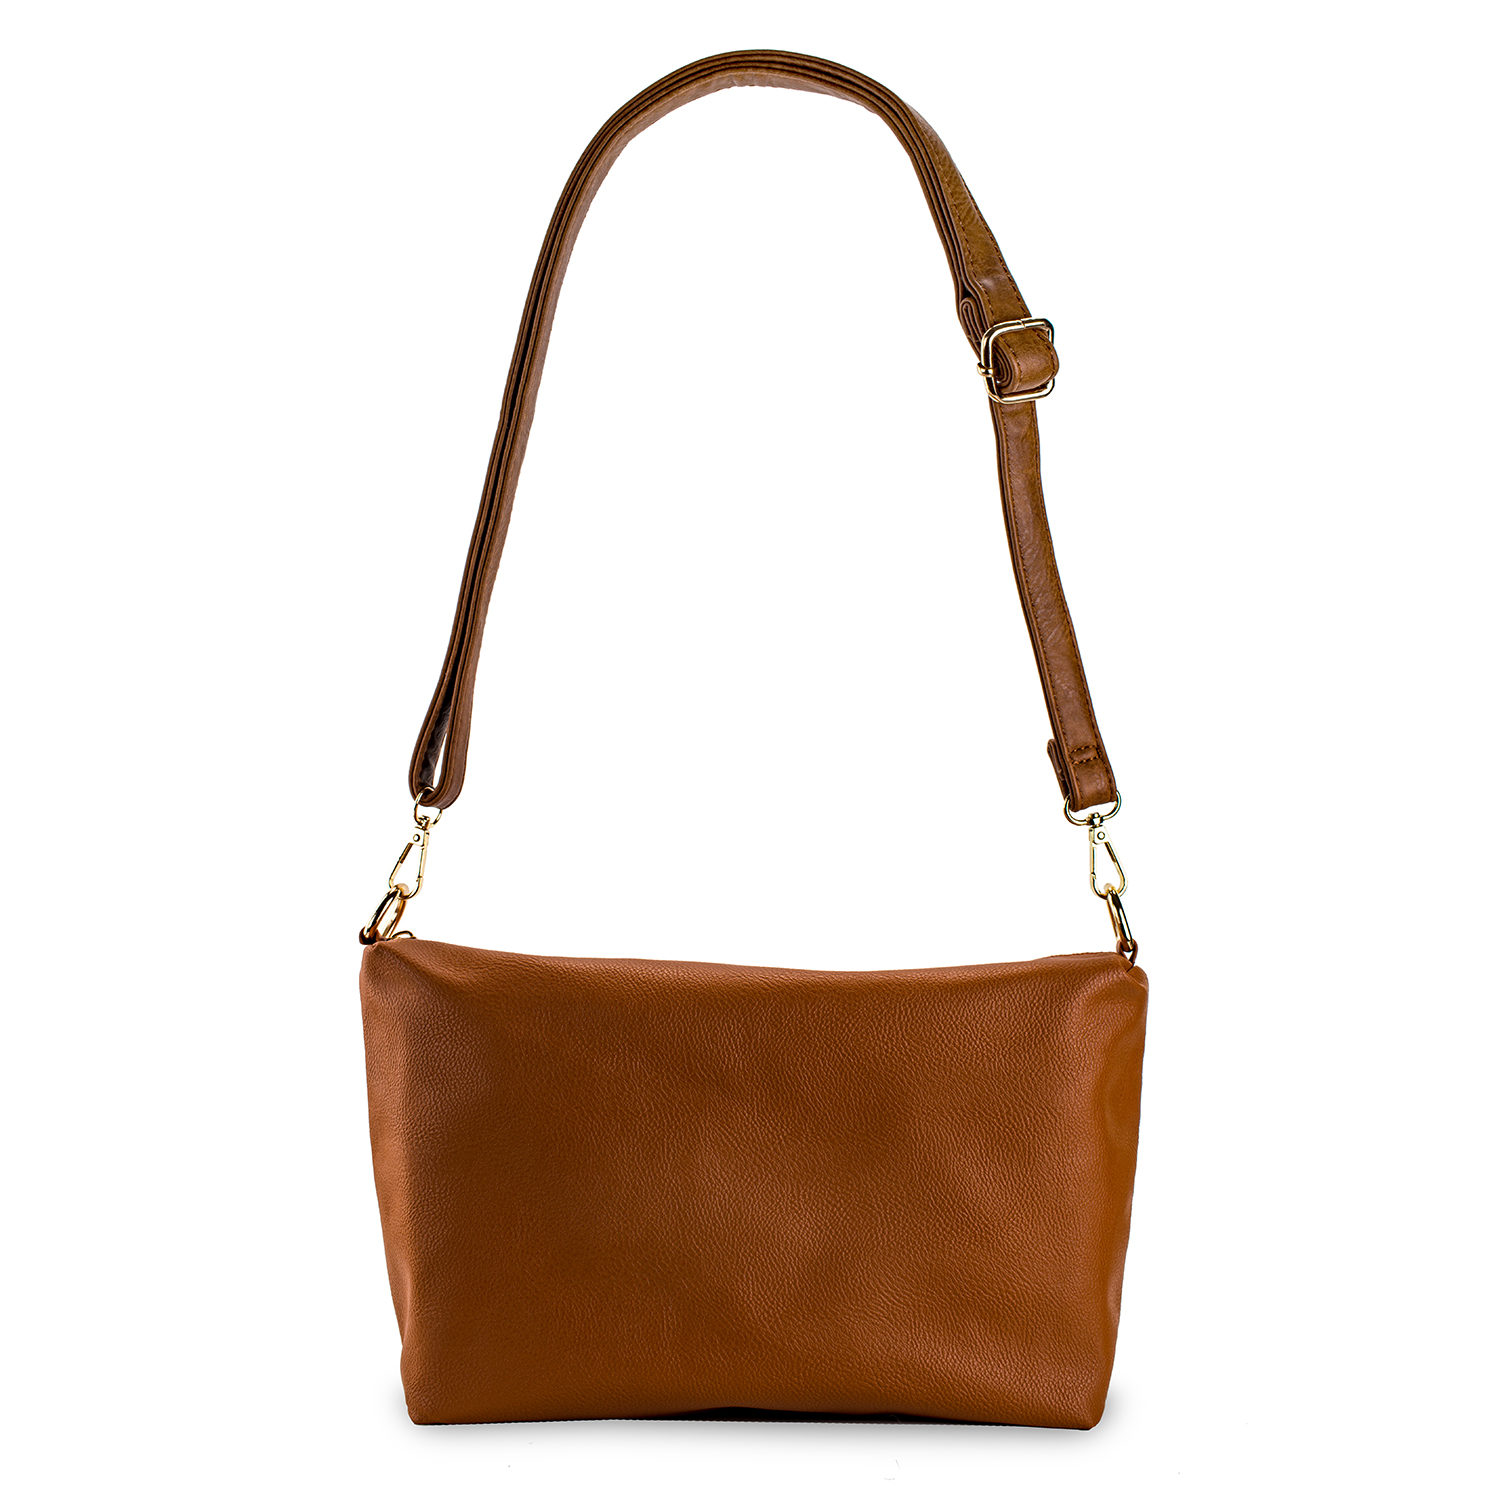
Handbag with stuffing
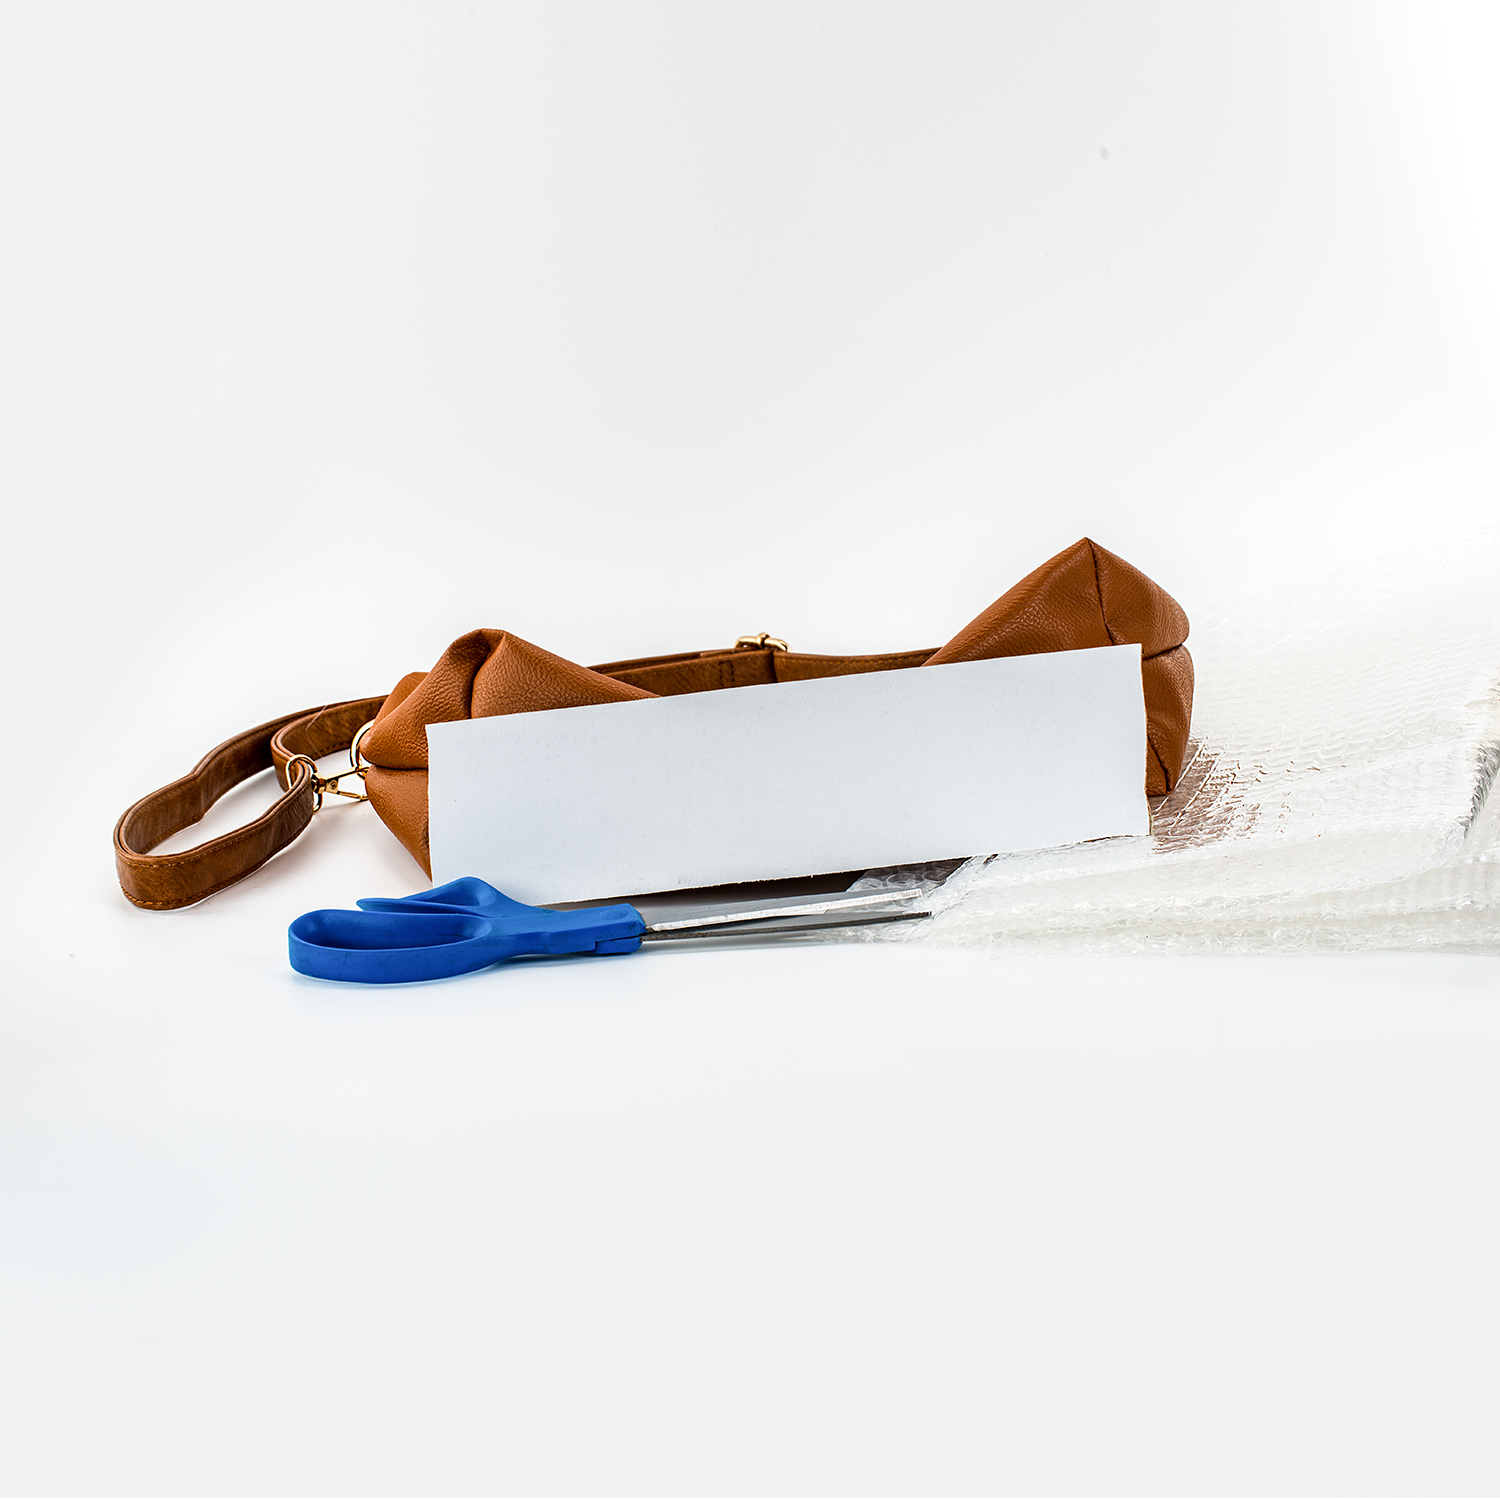
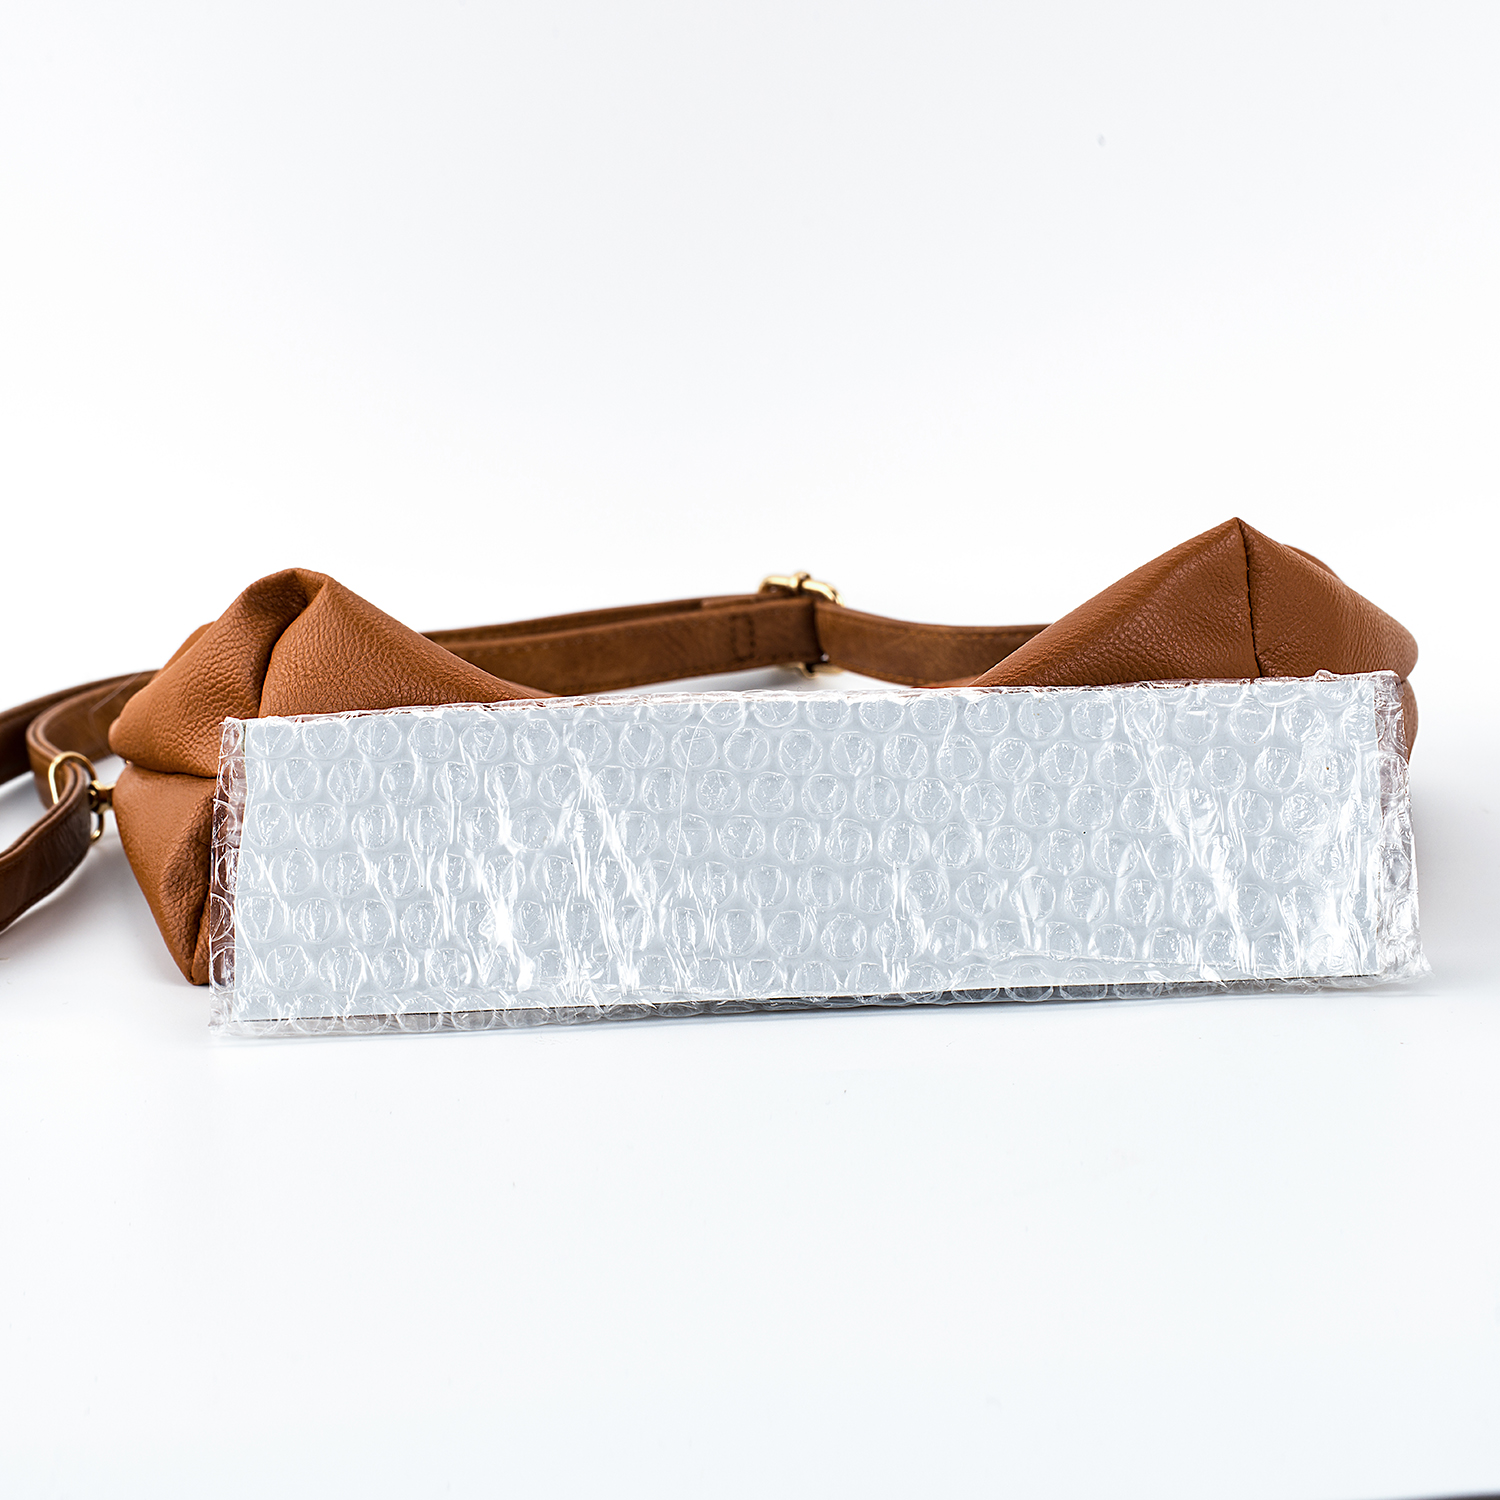
One of the best ways to create a flat look is to stuff the bag with a piece of cardboard. This will flatten out the bag and make it look smooth. To change the look of the bag, you can wrap the piece of cardboard with packing foam to remove hard edges. This works particularly well with more flexible materials like cloth or soft leather. To create more texture in the product, like a ribbed look, wrap the cardboard with tissue paper. The materials you use will depend on the look you want to create for your brand. Just try to be consistent however you choose to arrange your handbags.
Some people prefer to create a fuller look for their bags, so they will stuff them. This look will show the full volume of your product. Once again, you can use different materials to create different looks when stuffing your bags. Paper is an old stand by for stuffing bags. If you use tissue paper with softer materials, the edges of the paper will not show through the leather or cloth. It is also advisable to use a wedge of cardboard to help with getting softer materials to stand up. Thicker materials may not need the support, but a soft and “floppy” bag needs all the support it can get.
3. There are times when you shouldn’t stuff your handbags
There’s such a thing as too much stuffing. Don’t overstuff a bag and distort the natural shape creating an unnatural look. You want to depict all aspects of your product in the photograph accurately. Also, note that ridged bags do not need to be stuffed. They can stand up on their own, and if you stuff the bag, you may cause it to bulge. Bulging creates an unattractive look for your product photography. Remember everything you are doing is about creating a beautiful product image that we can take to a whole other level to ensure you get quality images for your website.
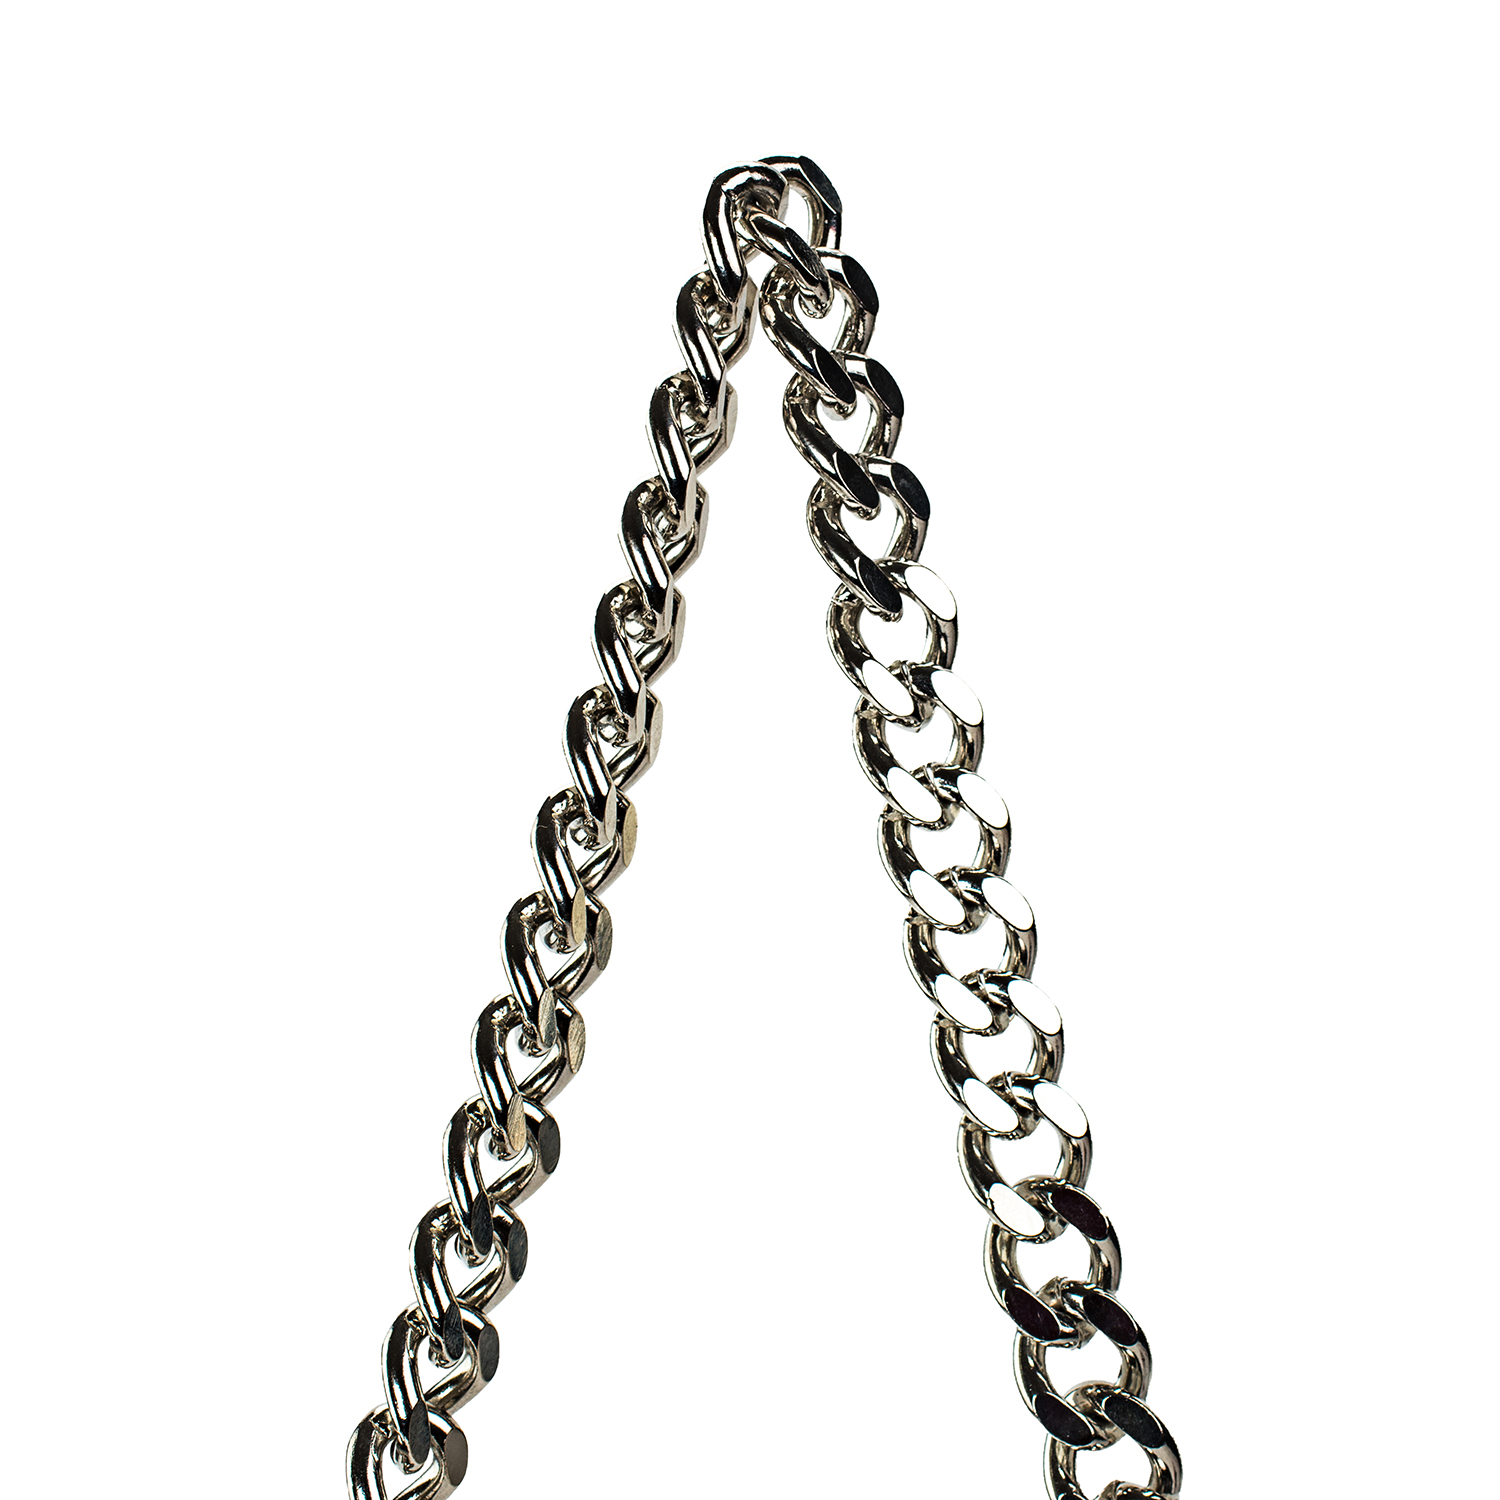
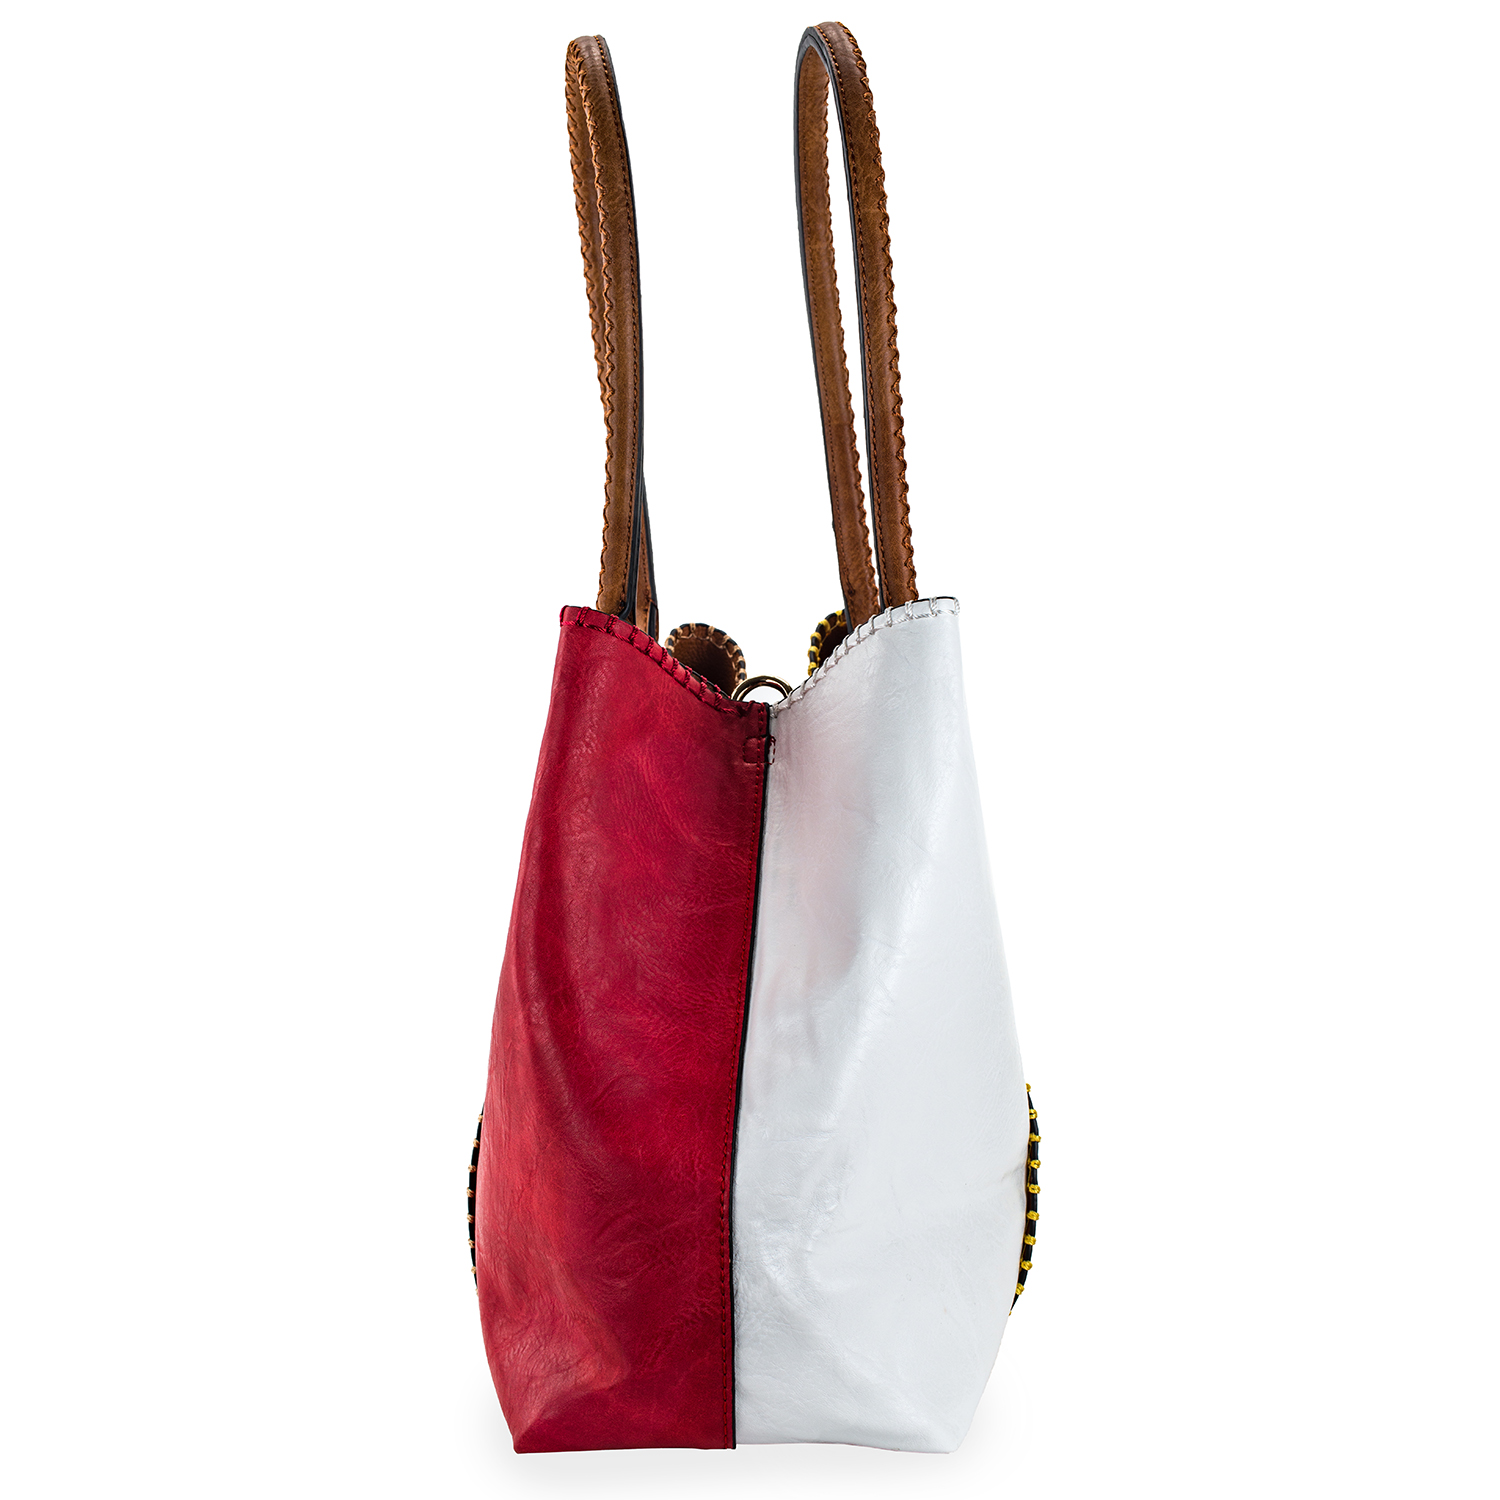
4. Sometimes you need to carefully arrange the bag to ensure it stands up and looks attractive
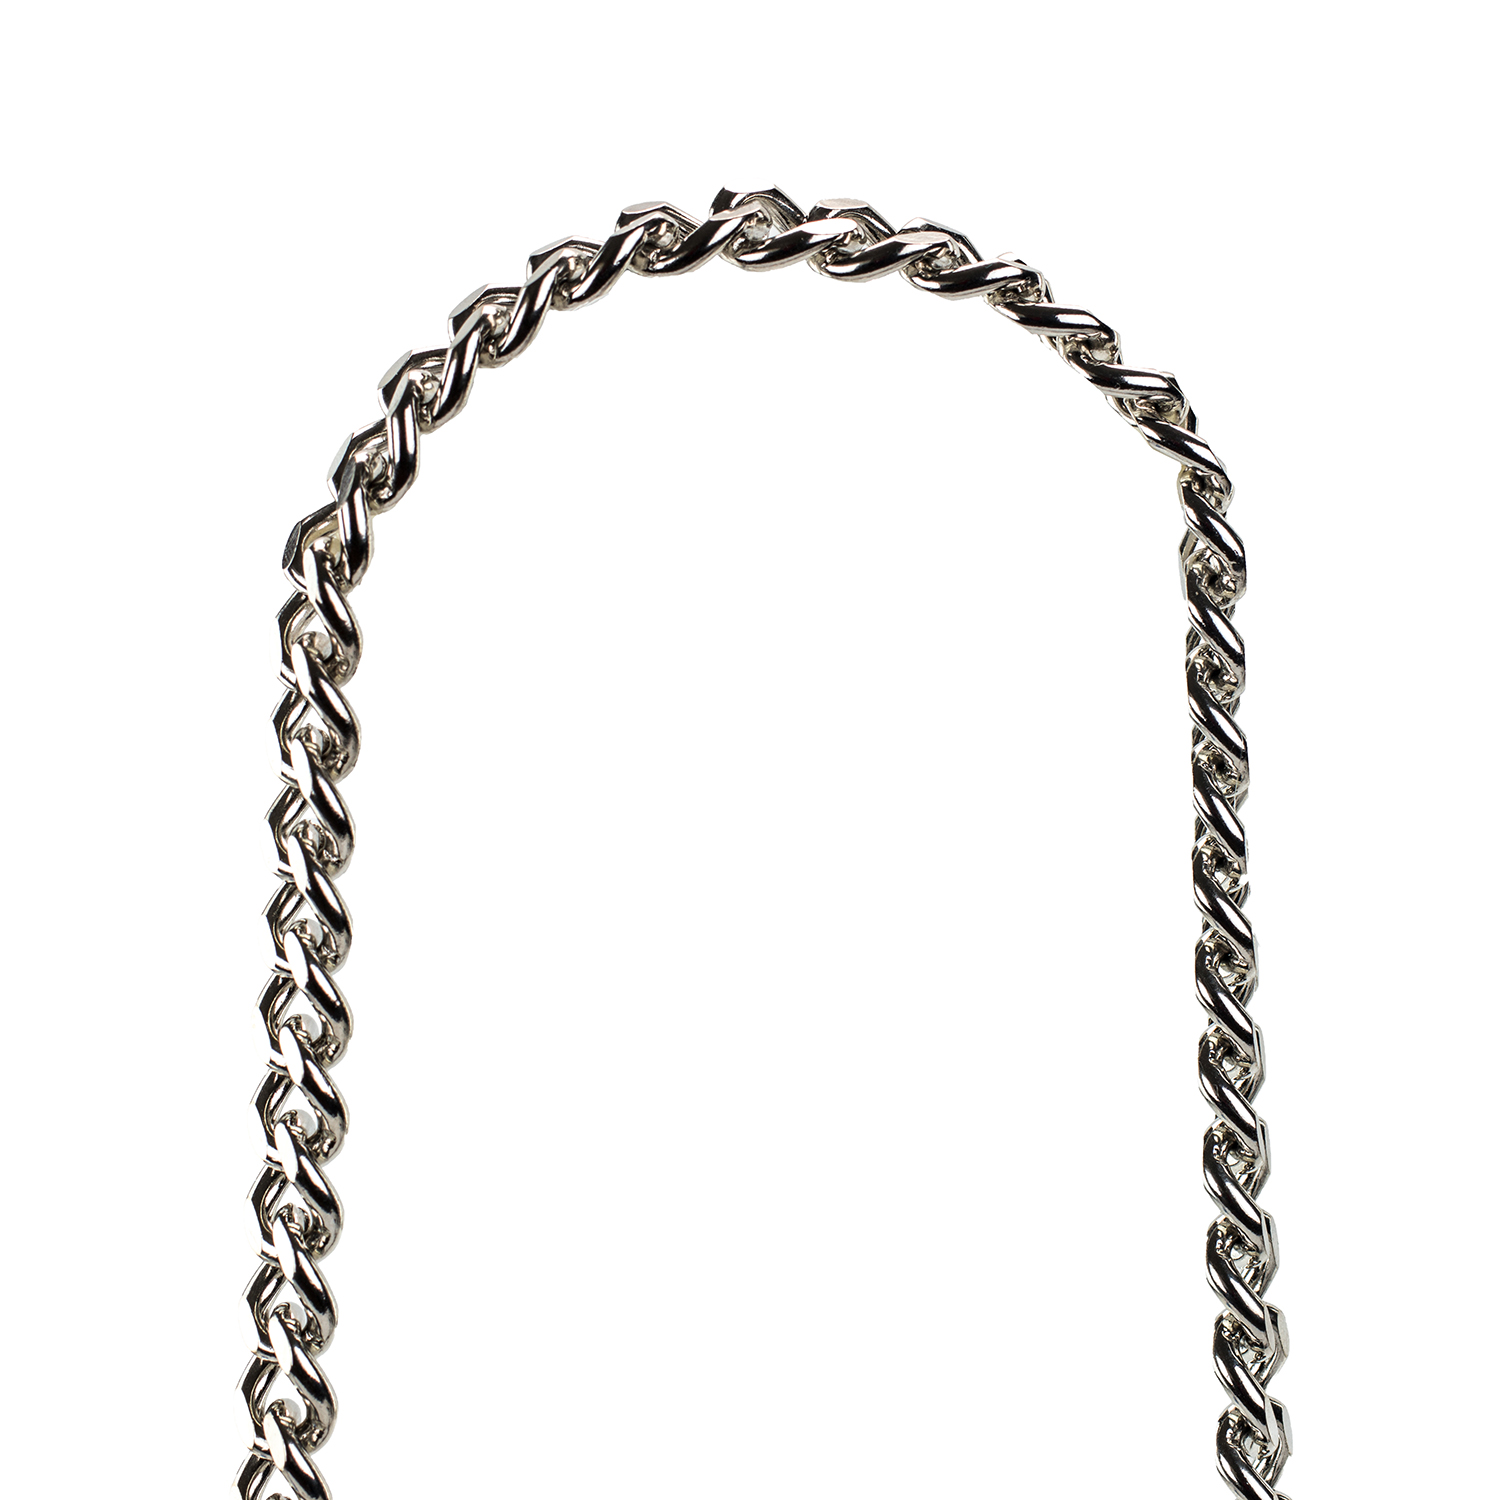
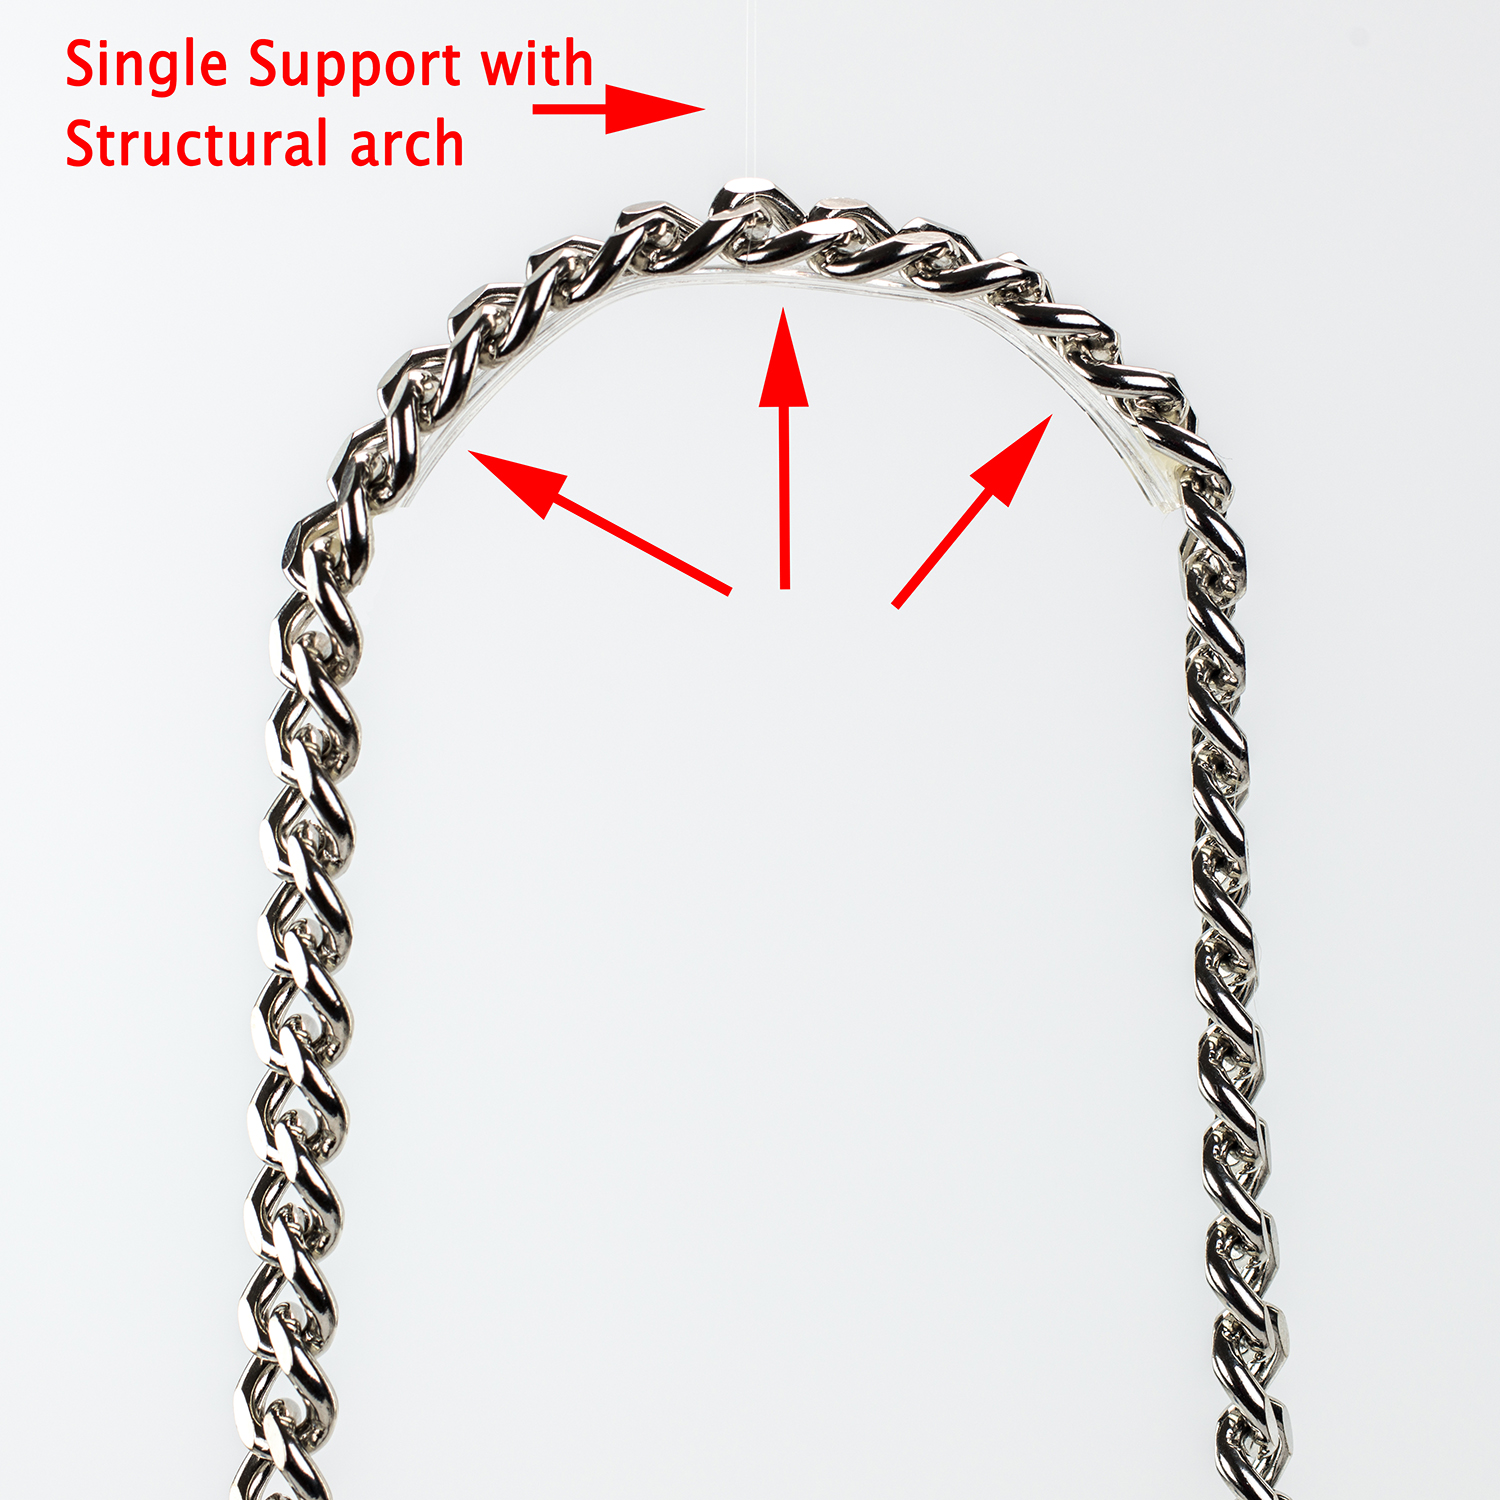
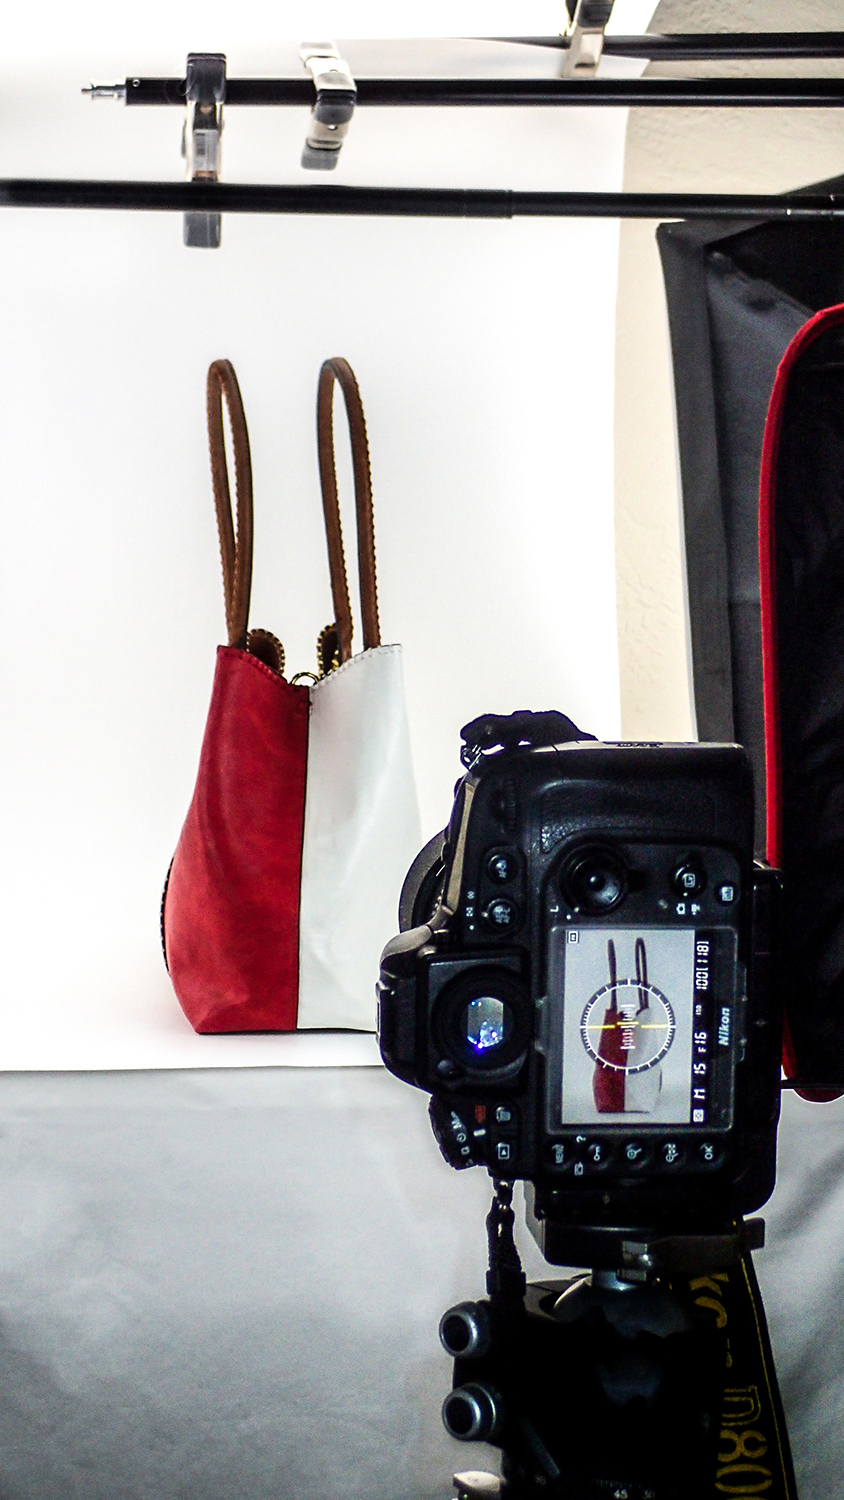
We highly recommend that you use fishing line to assist you in setting up your handbags. It’s translucent and easy to edit out of images if it even shows up clearly. Fishing line can be used to hold up the straps or the bag itself.
Use fishing line to help suspend the bag from a boom arm or a background rod. I’ve even seen photographers make special rigs out of broken hockey sticks to use and as a way of suspending materials. Simply loop the fishing line through the straps then attach the line to your rod. The rod should be positioned out of the shot.
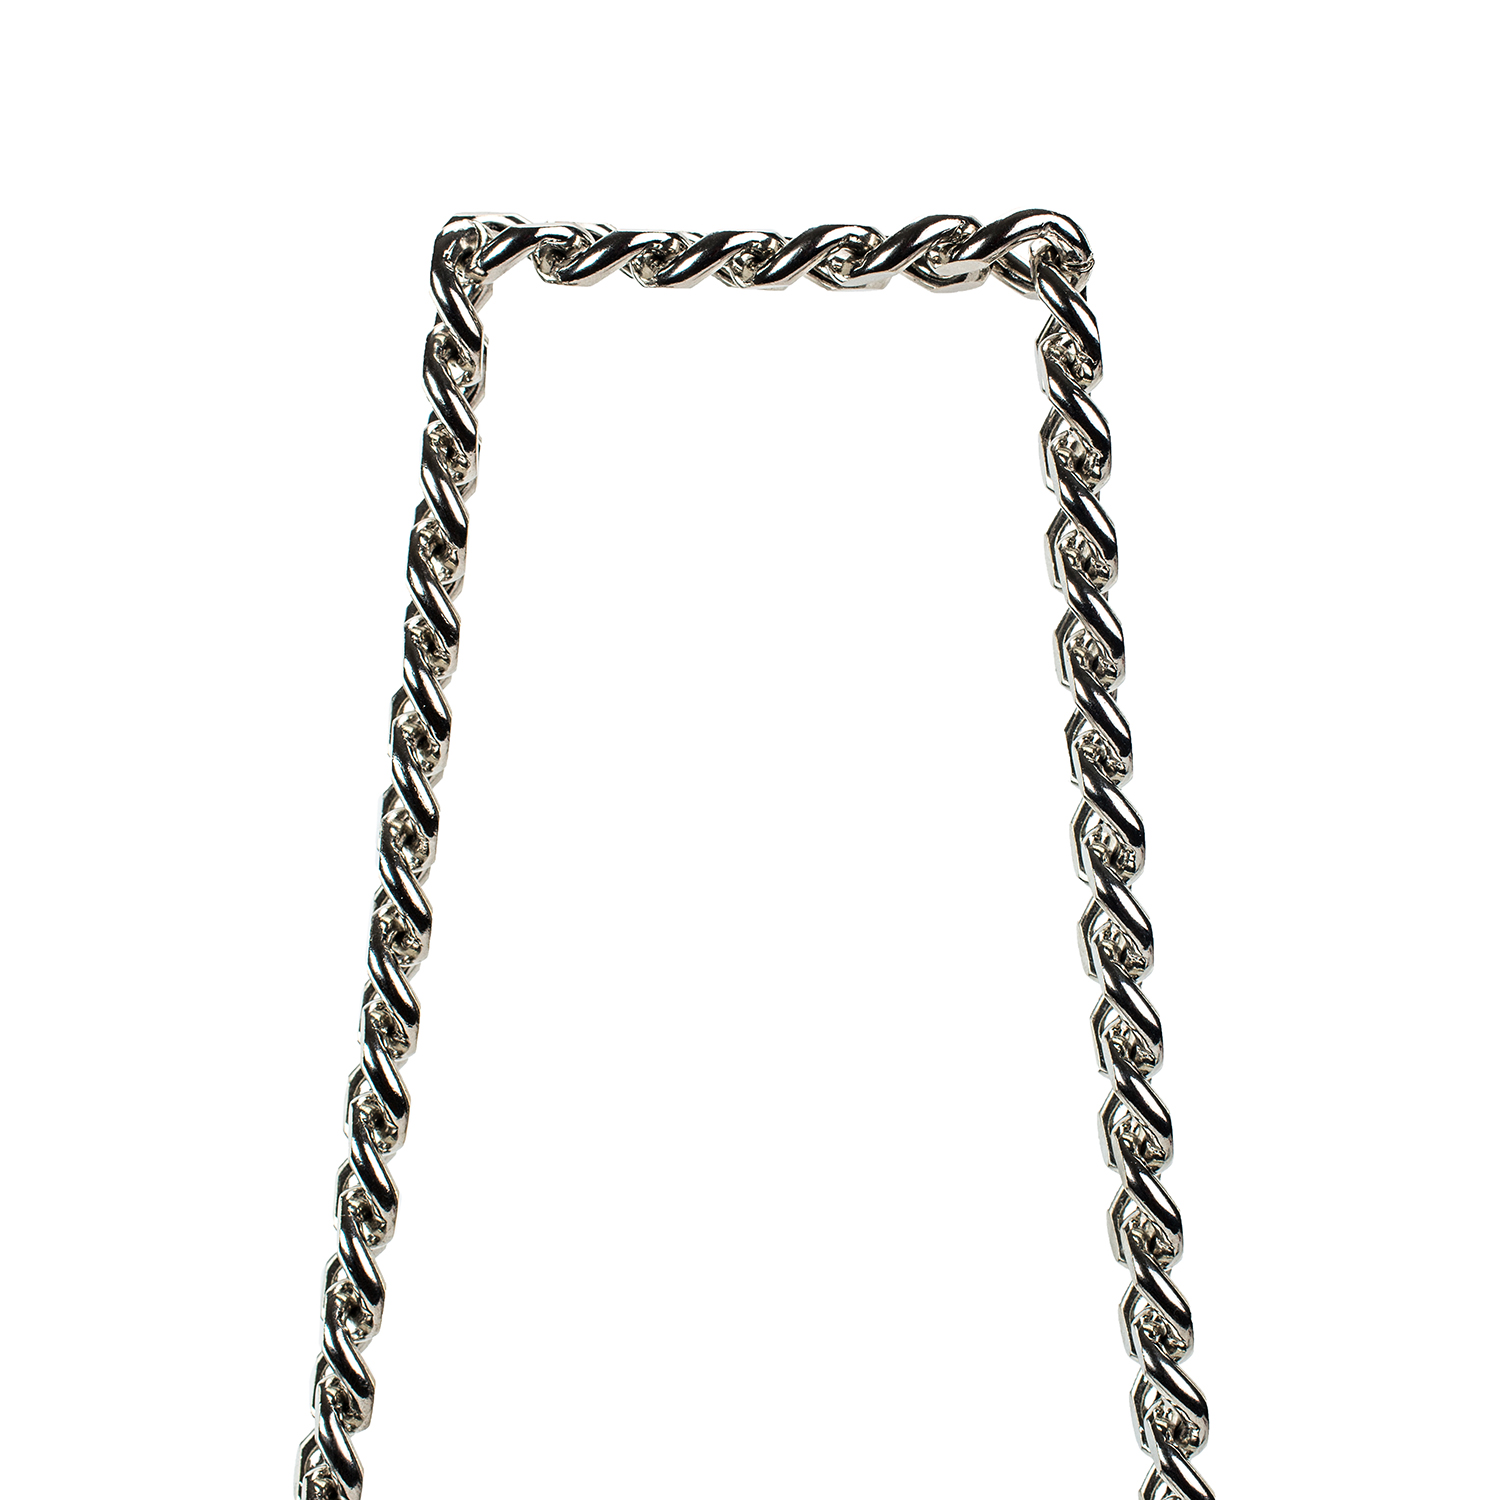
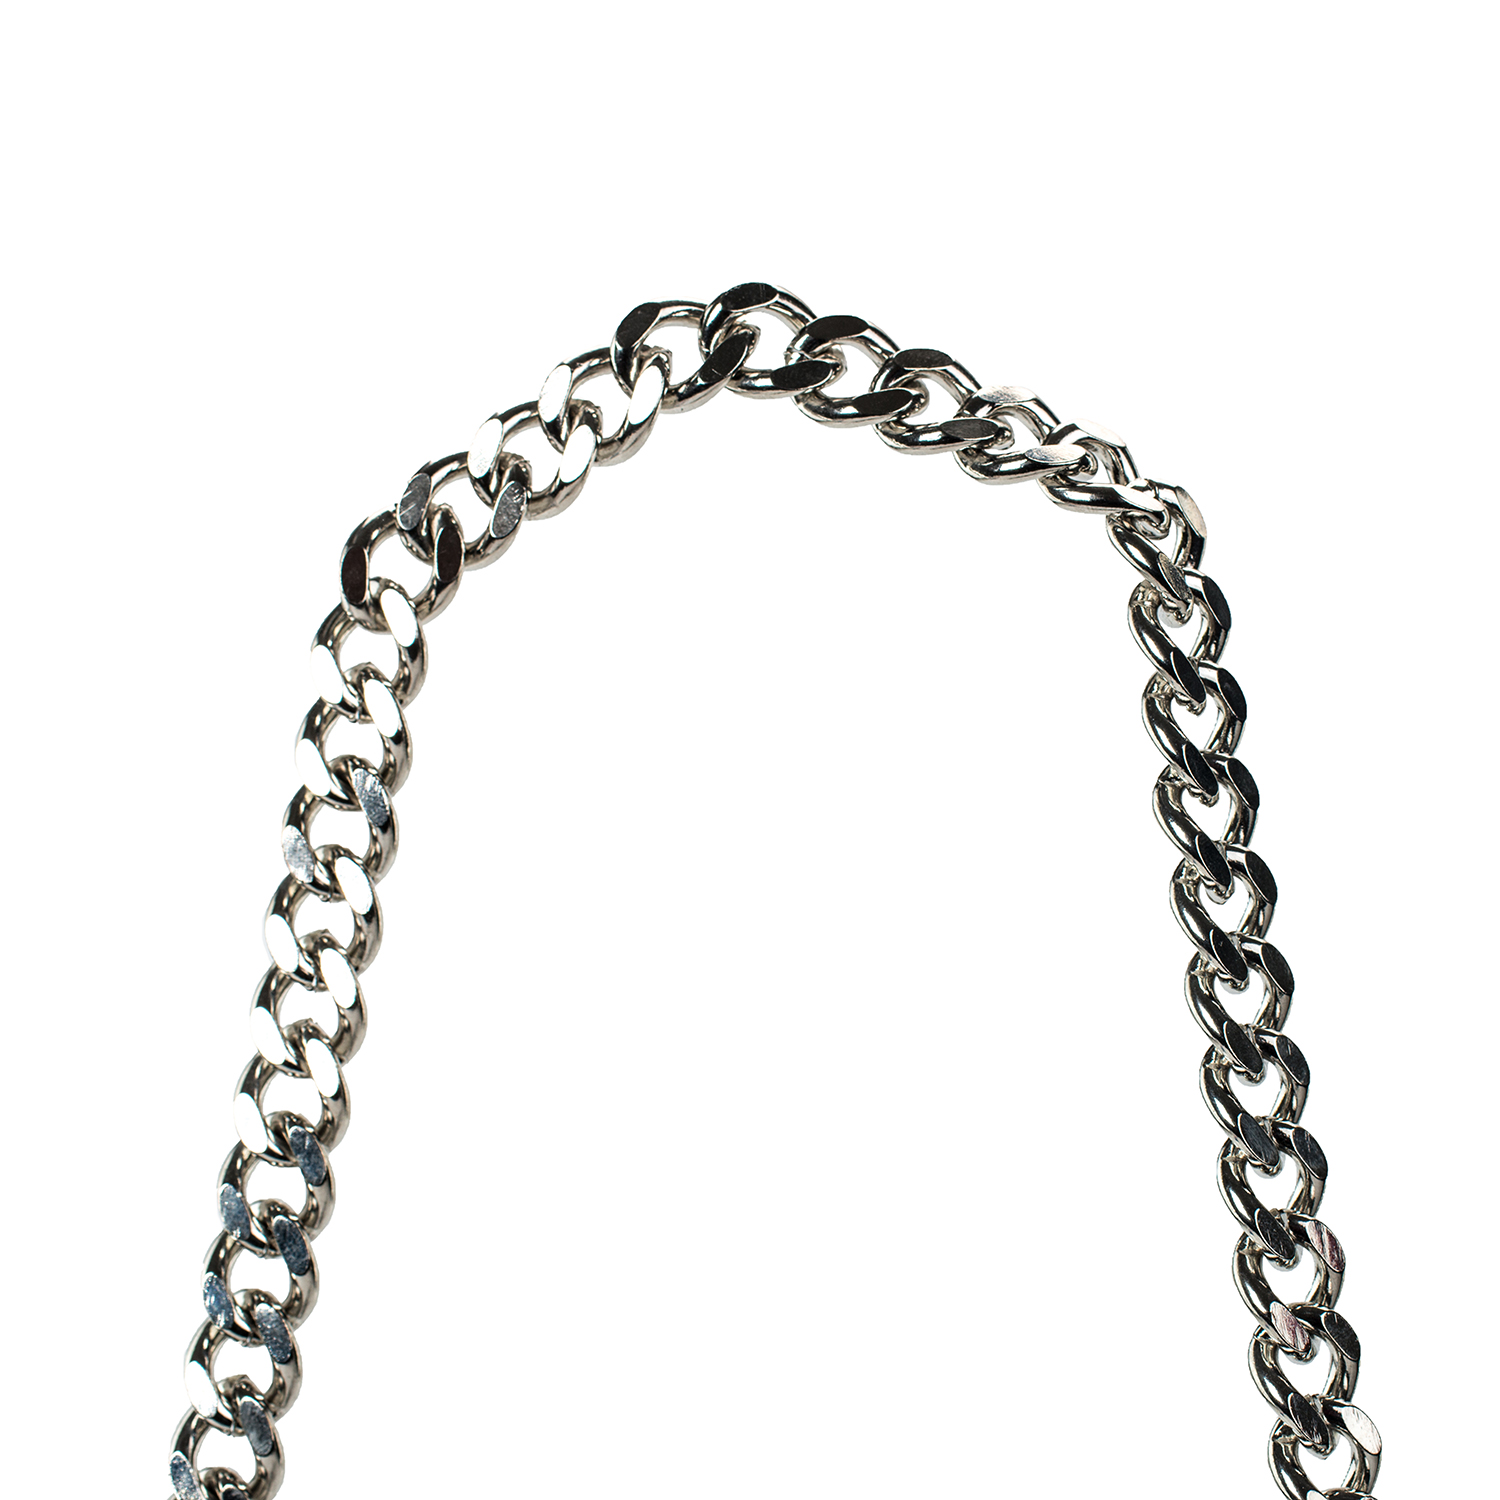
You can also use the fishing line to create different looks for the straps.
Triangle look: Use a single piece of fishing line positioned in the center of the strap to create an attractive triangular look.
Rectangular look: to achieve something more square like you can use two pieces of fishing line suspended on each side of the strap to create a look that is reminiscent of a rectangle.
Rounded look: To create a graceful arc you will need to use several pieces of fishing line positioned closely together to suspend the straps. You should also include an arched piece of plexiglass to positioned underneath the strap and suspended with fishing line.
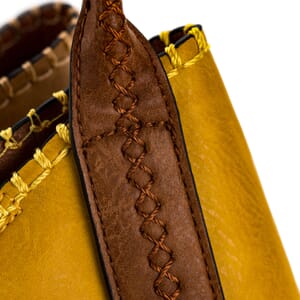
5. Bring your handbags to life by arranging your lights to show off the texture of your product
Make sure to use a strong contoured light. The trick is to arrange the lights at the same level as your product. Placing softer lighting around your product will create a much softer look that won’t display the textures of your handbag. Softer lights diffuse the edges and if you want this type of look that fine but if you are looking to display harder edges then use a stronger light.
You should angle a stronger main at about 30 to 90 degrees from the bag. This will create shadow details which help to accentuate textures. But be aware that heavy texture will need less of an angle that smaller textures. If your handbag contains intricate details, then you will need to arrange your light at a greater angle.
At the same time, it’s important to keep shadows to a minimum. You are not looking to create product photography with heavy dark shadows that hide the beauty of your handbags. Try to arrange your lighting using reflectors and diffuse fill lights so that you have some shadows. The trick is to balance the amount of shadow needed to show all the textures of y our bag.
6. The more images, the better
In this tutorial on how to photograph handbags, this is probably one of the most important tips. Show off your product. Keep your lighting the same but move your camera around and take multiple shots from multiple angles. Take shots of the front, side and back of the bag. Then get creative and shoot from overhead. Try images from a 45-degree angle. Be sure you capture details about the interior of the bag and if the bottom of the bag is important to show those features as well. Finally, don’t forget to take close up detail shots that show the all the intricate details and special feature of your product.
7. Be consistent in the look you create. It will help your website stand out.
We can’t stress this enough, and in fact, our how to photograph handbags article would be incomplete if we didn’t mention the importance of consistency. Document your lighting setup and use the same placement for each photo you take. Use tape to mark the exact position of the bag for each view. You should do the same for the camera. Use masking tape to document camera placement for each view. Finally, stay consistent and use the same lens for each product you photograph.
If you get serious about your photography, you can tether your camera to a computer and create master images that help guide you in setting up your angles. These images can be layered over your test shots to ensure that lighting and angles are accurate.
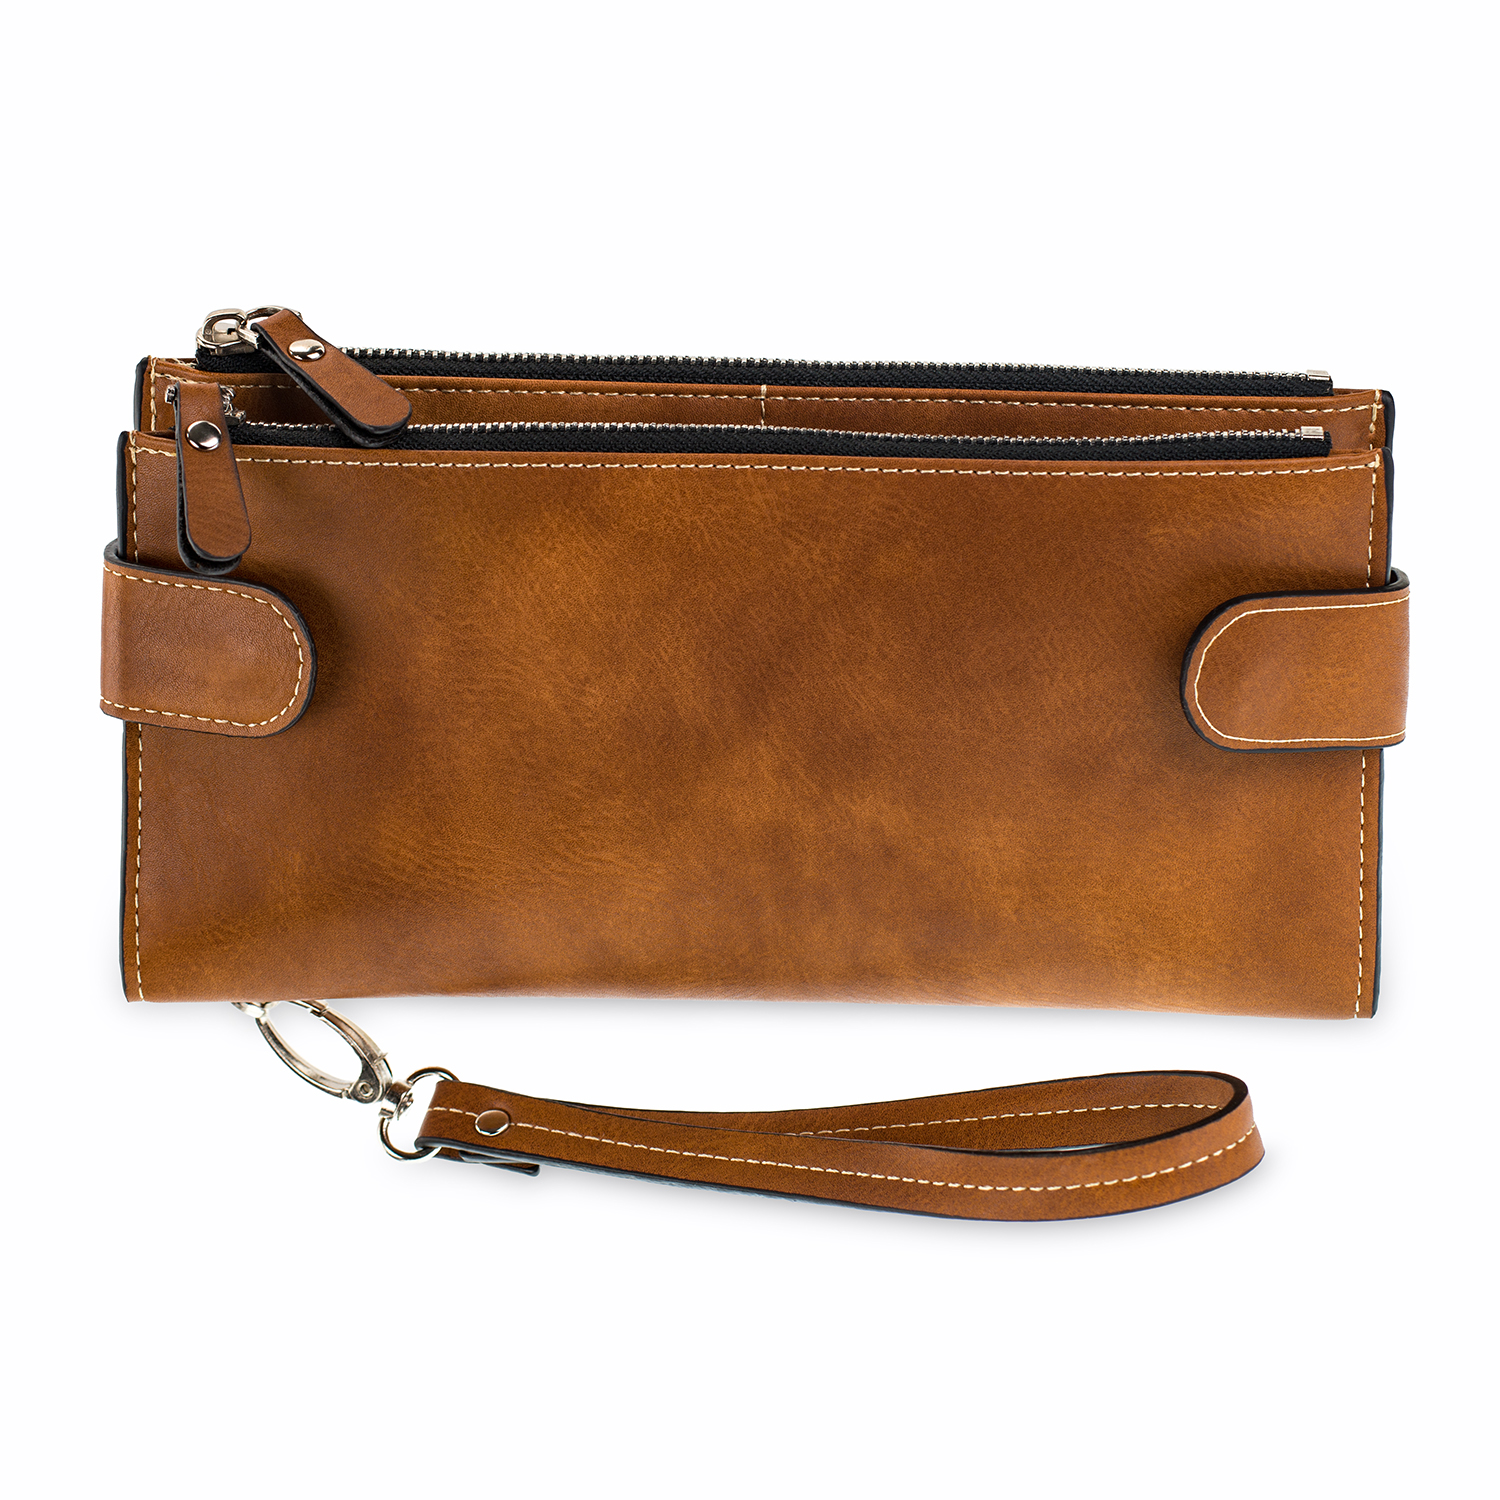
Wallet before post-production
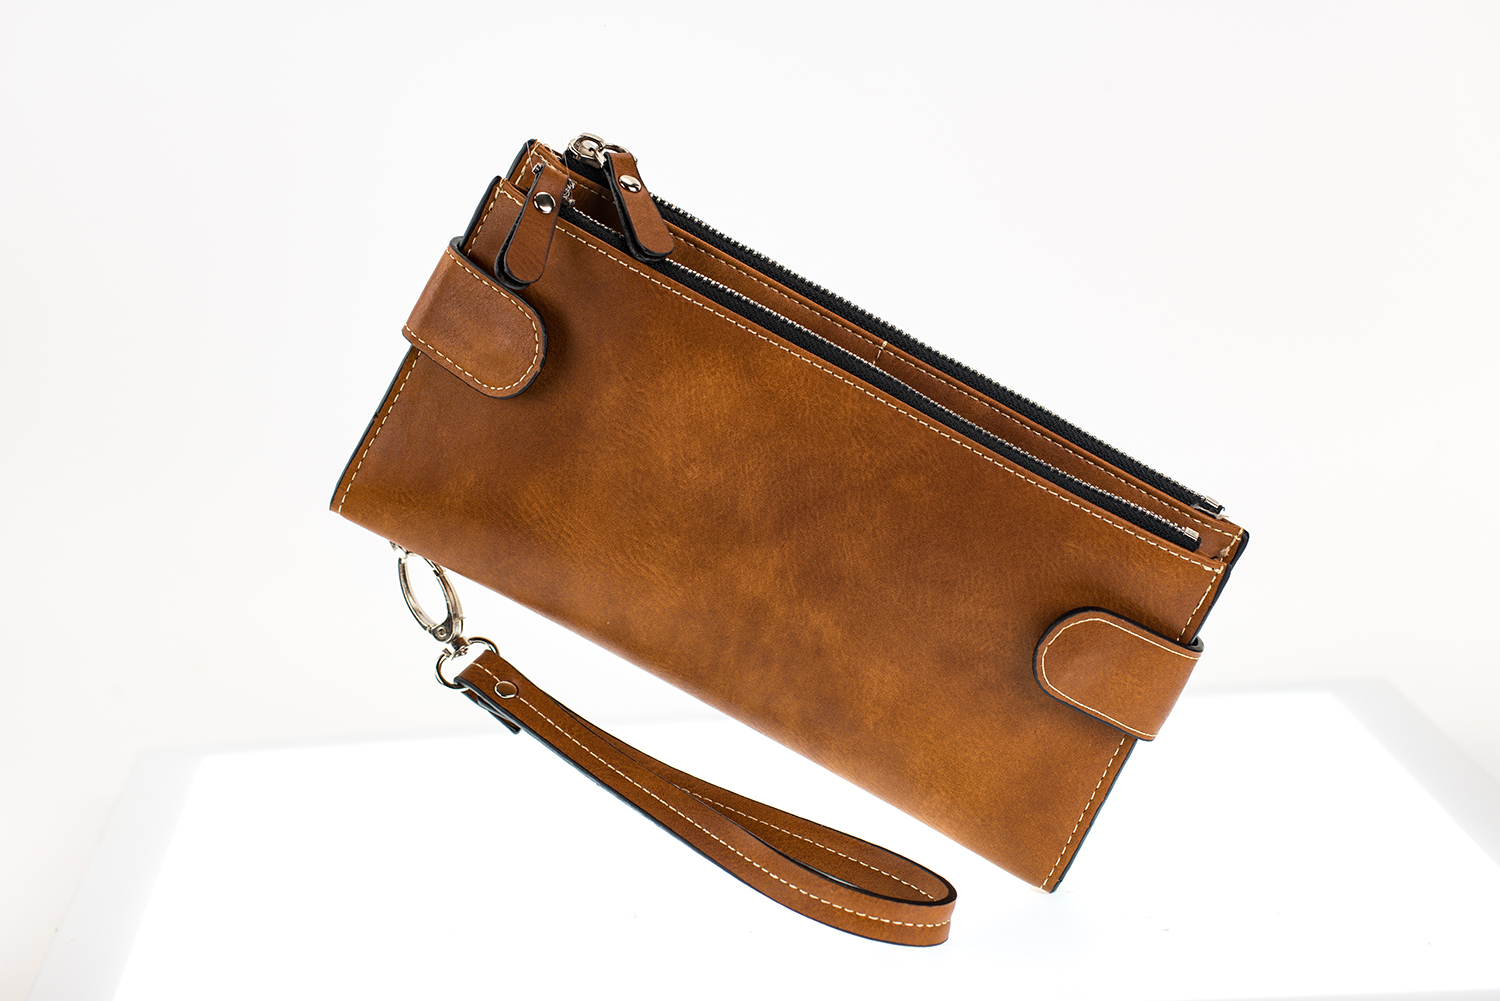
Edited Wallet
That’s it for now. Take these seven handy tips and get started photographing your handbags. Experiment with the lighting. Think carefully about how you present your handbags. It’s quite simple to photograph your products just move slowly and think carefully about each step. Then when your work is complete, we are here to do the fine tuning. We’ll take your great images and make them amazing.