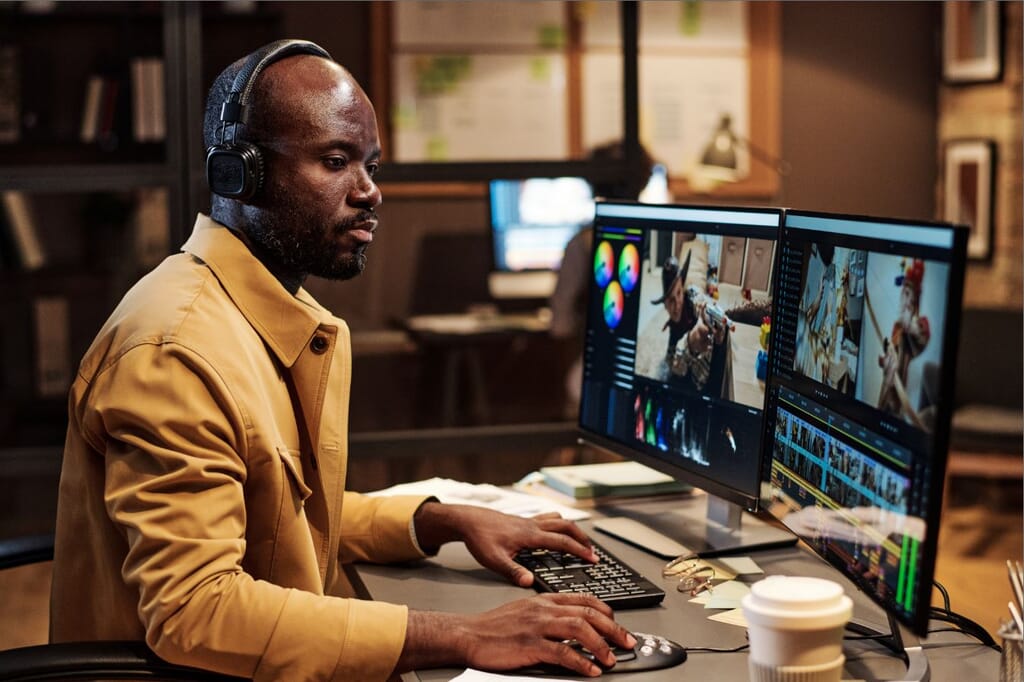
Editing is not just about taking out the bad; it’s about bringing out the best. In the digital age, video content is an essential communication tool. Whether for entertainment, education, or branding, video helps connect with audiences effectively. But a great video isn’t created solely by pressing “record.” Much of the magic happens in post-production, the crucial stage where raw footage transforms into a compelling, polished product.
The quality of post-production makes a decisive difference in the success or failure of your video campaign. In this critical stage, raw footage is transformed into a refined and impactful final product.
What is Post Production?
Post-production can include editing out unnecessary footage, color correction, sound design, and visual effects. This entire process can take several days or even weeks to complete, and it typically takes much longer than the actual video capture.
We will explore the various steps involved in the workflow for editing and post-production of marketing videos.
1. Importing and Organizing Footage
The foundation of great editing starts with great organization. Importing footage is more than just a first step; it’s setting the stage for a seamless storytelling journey.
Importing

Transfer Footage:
Transfer video files from your camera or recording device to your computer.
Your computer will detect the camera automatically and install the relevant drivers from the operating system. Then, an AutoPlay window will appear on the monitor.
The Import function works perfectly with the Windows 10 or 11 operating system.
Note: Since the original file is an authentic and high-quality copy of your video, you must copy the raw video files directly to your hard disk without altering them in any way.
File Management:
Create a dedicated project folder with subfolders for raw footage, audio, graphics, and project files. Within each project folder, create subfolders to group your workflows further.
Follow consistent file naming conventions. That way, it will be easy to identify the contents of each subfolder. If any team member has to work on a project, they should be able to understand the purpose of each file and subfolder and where things are located.
The file management system must make sense to you or anyone else. Use clear, easy-to-understand file names. Create a logical folder structure. Start with broad categories, viz. Raw Footage, Audio, Graphics, and Exports. Break them down further into more detailed subfolders.
For instance, within the Raw Footage subfolder, create subfolders for different shooting days or cameras. This hierarchical system makes the search process easier, streamlines your workspace, and minimizes the chances of data loss.
Organizing
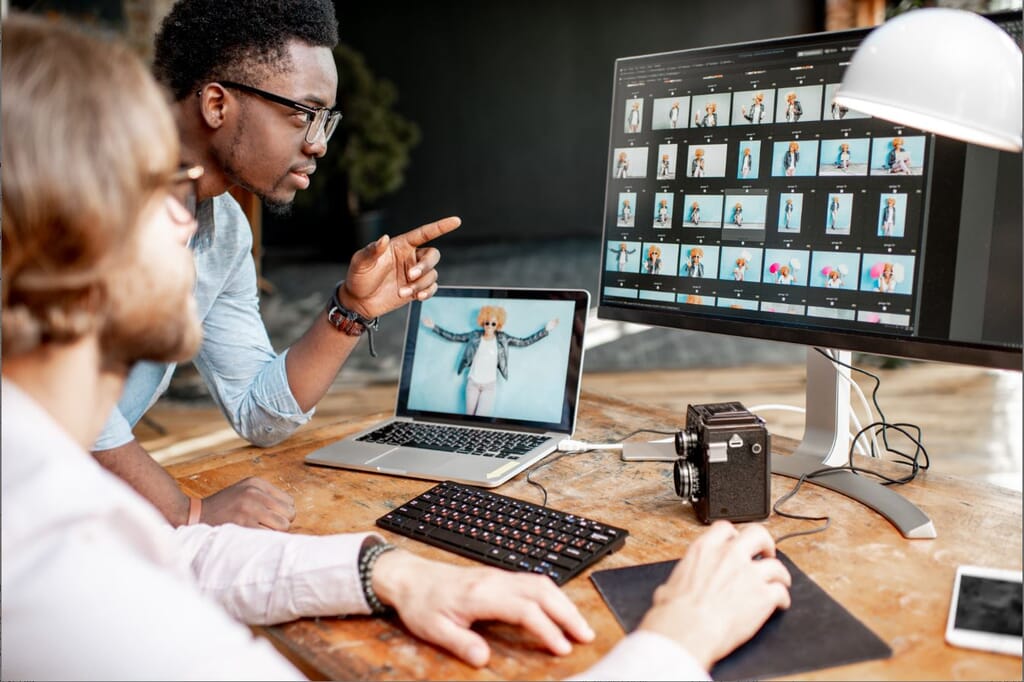
Label and Sort: Rename video clips and sort them into categories (e.g., by scene, location, camera, or date).
Use phrases that help categorize footage into a logical order while also describing the contents. Ensure that the filenames are informative.
Follow the categories outlined below:
- Name of a specific scene within the video capture.
- The name of the location where the footage was shot.
- The camera is used for recording the video.
- The date of filming the video.
Informative filenames will help you or a team member working with the assets identify them. Using numbers can also help to fix everything in order.

Outsource Photo Editing Services
Picsera offers photo editing and retouching, so you can focus on your business instead. Spend a fraction of the cost, time, and effort of photography with Picsera. Click here to find out more.Metadata Tags: Add tags and metadata to clips for easier searching and filtering during the editing process.
Tags are advantageous because, with folders, a video can be put in only one folder. However, with tags, a video can be grouped into several categories. A video can have one tag or multiple tags. Tags typically group videos by the same “tag.”
Tags work like keywords. You can add any number of tags to a file. However, in most systems, a tag cannot be put within a tag like a folder can be put within a folder.
Metadata is the additional information attached to the source files, which describes those files in finer detail.
Consider an image on your Smartphone. You can see some interesting metadata when you open it in your favorite image editor and go to the Properties or File Info dialog. The make and model of your Smartphone, the shot’s shutter speed and exposure, and the location where the photo was taken—all this extra information is seamlessly folded into each shot on your Smartphone. That’s metadata.
Most post-production apps support system-grade metadata. So, you can use meaningful metadata to organize and look through hours of footage in a few minutes. When used effectively, metadata can help you organize footage better and collaborate successfully.
2. Creating a Rough Cut
Assembly
The rough cut will include all the key scenes of the recorded footage in their approximate order. The main missing element is the absence of smooth transitions between major scenes. Also, there may be huge flaws or errors in the footage.
How do you create a rough cut?
Pick your editing software from among the countless options available—online to offline, free to paid, and simple to complex.
Final Cut Pro, Clipchamp, Adobe Premiere Pro, iMovie, DaVinci Resolve, and PowerDirector are the most popular ones. Depending on your marketing video campaign objectives, budget, and skill level, you can choose one that fulfills your needs the most. Just ensure you have enough processing power, storage space, and RAM to run the software without any hassles.
The next step is to import the footage on your computer. Use the editor to organize the footage. Sort the files into folders or bins. Categorize the footage by scene, quality, shot, or angle using labels, keywords, colors, or ratings.
This way, you can find and access the clips quickly and easily when you start editing. To isolate the bits you want to use, an effective shortcut is to create sub-clips, which are essentially smaller sections of a longer clip.
Timeline Setup: Create a new project. Set up the timeline with the appropriate settings (resolution, frame rate, and aspect ratio).
After you complete backing up all the footage, upload or ingest the footage into a new project in your video editor. You can pull the clips you need onto the editing timeline from this bucket.
Resolution: It’s the number of horizontal pixels in an image. Resolution is measured in pixels. A pixel is a tiny color square that makes up an image. Hence, an image with more pixels has a higher resolution and a better image quality compared to an image with fewer pixels.
Frame rate: The speed at which the images are displayed is referred to as “frames per second” or FPS. In simpler terms, FPS means the number of frames squeezed into one second of video. Hence, if a video is captured and shown at 24fps, it means that each second of the video displays 24 distinct still images.
Aspect Ratio: It’s the ratio of an image’s width to its height. The resolution and the FPS determine a video’s aspect ratio. The following are the standard aspect ratios:
- Ultra widescreen – 2.4:1
- Widescreen – 16:9
- Standard – 4:3
- Perfect Square – 1:1
Sequence Creation: Drag and drop clips onto the timeline to create an initial sequence in chronological order.
A sequence is an elementary part of video production. In sequence creation, you arrange a series of clips or segments in a specific order to narrate a story or recount an idea.
Use the various options in the dashboard to manipulate the order, duration, and flow of the clips, ensuring you get the chronological order you desire.
Basic Editing
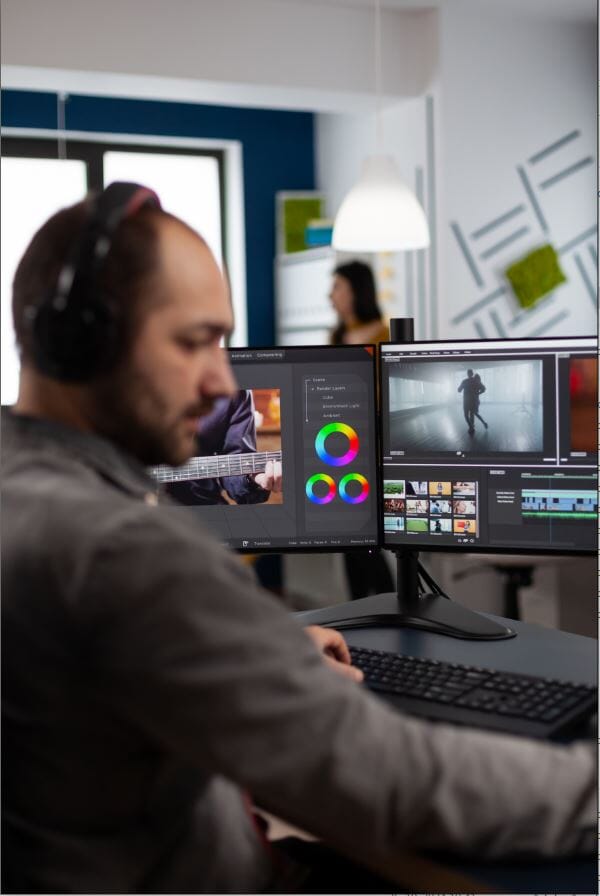
Cutting and Trimming: Use the razor tool to cut unwanted sections and trim clips to focus on essential parts.
A cut refers to the end of one shot and the beginning of another. With this invisible thread, you weave the narrative fabric of your video. However, a cut isn’t simply a technical transition. It’s a decisive editing feature that will affect your video’s mood, rhythm, and information flow.
Exceptional editing is about concealing your cuts so the viewer will hardly notice them.
Trimming refers to the task of removing unwanted segments from a video clip. You adjust the in and out points of a clip to reduce its duration or remove unnecessary content.
Trimming allows you to enhance the pacing, narrative flow, and timing of your video, making certain that each frame serves a purpose. The main objective of trimming is to ensure that clips seamlessly merge together, creating a coordinated narrative that engages your audience.
Arranging Clips: Arrange clips in a logical sequence to form the basic structure of the video.
Arranging your clips carefully is vital to creating a cohesive and engaging marketing video. Start by organizing the selected footage to match the narrative structure or story you’ve drafted. Arrange the clips in a logical flow, as it will ensure that the transitions between scenes are natural.
Placeholders: Add placeholders for any missing content, such as titles, graphics, or additional footage.
Placeholders are fill-in content or visual signs that indicate or occupy space until you finalize the real content. They can be set to represent a wide range of standard clips, such as close-ups, wide shots, groups, and more.
3. Refining the Edit
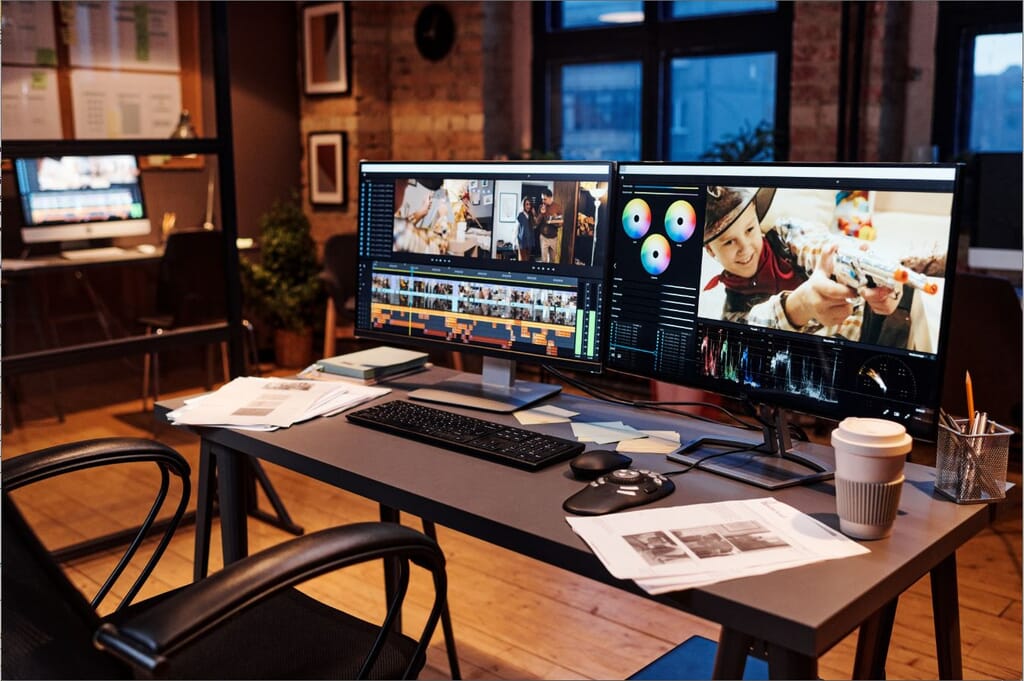
Fine-Tuning
Transitions: Add simple transitions (cuts, fades) between clips to ensure smooth flow.
Transition is a post-production technique that helps connect one shot to the next. Think of transitions as the thread that stitches the video together.
Cuts, fades, and dissolves are the basic transitions that ensure a smooth flow and make the video visually captivating. For instance, a sharp cut can create impact, and a gentle fade can evoke emotion.
While transitions are a powerful storytelling tool, take care to avoid overusing them, as too many can distract the viewer from your content.
Audio Sync: Ensure audio is synchronized with video, especially for dialogue and on-screen actions.
Syncing involves aligning audio and video tracks in post-production to make sure they match seamlessly.
Imagine the audio tracks and video frames not being in sync. The result will be jarring, and the audience will be confused, which can make them lose interest.
Properly aligned audio and video tracks create a cohesive experience, improve sound quality, and enhance storytelling. Hence, it’s vital to create a flawless and realistic experience for viewers.
Pacing: Adjust the pacing of the video by trimming or extending clips to maintain viewer engagement.
Pacing is a prime factor in managing viewer attention. In the current era of low viewer attention span, videos that move at a snail’s pace can cause viewers to disengage. Similarly, videos that move rapidly may overwhelm the audience. Therefore, you need to strike the right balance to keep viewers engaged.
In video storytelling, it’s obvious that the right pacing is everything. You’ll need to determine the right rhythm and flow of the content. It’s the best way to maintain viewers’ attention and ensure they don’t become bored.
Hence, the most effective way to keep viewers engaged from start to finish is to control the speed of your video and guide viewers through the video.
Adding B-Roll
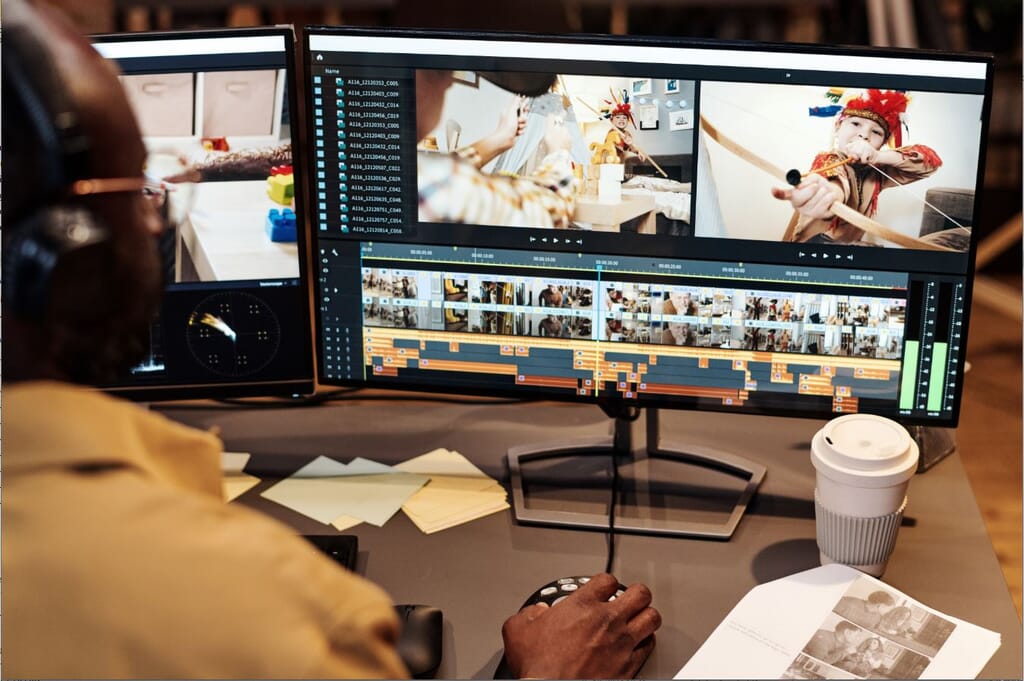
Supplementary Footage: Insert B-roll footage to cover cuts, add context, and enhance the narrative.
The term B-roll came forth from the early days of film. Editors used to insert supplemental footage, known as B-roll, into the main footage (A-roll). This was done to conceal visible lines where two different pieces of film were joined.
In video production today, the B-roll includes all footage that isn’t the main action. B-roll can be used to establish a scene, add meaning, or smooth out a transition. To ensure you capture the most appropriate B-roll to narrate your story, plan ahead with a shot list.
Cutaways: Use cutaway shots to provide visual interest and emphasize key points.
Cutaway shots, also known as cut-in shots, enrich your story. They are an effective way to show fundamental elements of the story as opposed to telling them to the viewers through explanation.
A cutaway shot typically interrupts the main scene or action to show something else that’s related or relevant.
Used judiciously, cutaway shots can be splendid tools to guide viewers (or even strategically mislead them) and make your video more visually enticing.
4. Incorporating Audio
Sound Design
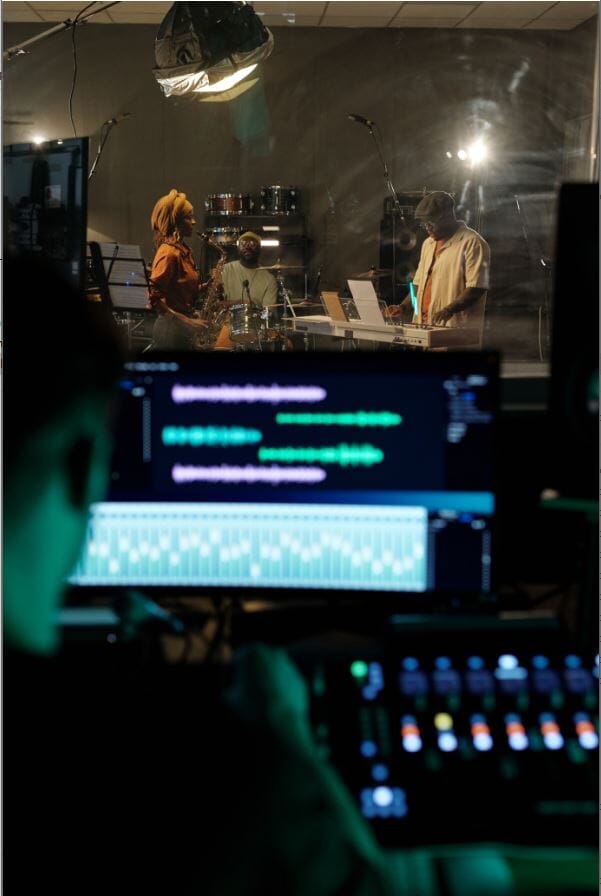
Sound and music are 50% of the entertainment in a movie. Sound is a powerful thing. It can influence how we perceive time, space, and emotions.
Dialogue Editing: Clean up dialogue tracks by removing background noise and applying equalization. Background noise falls into two categories: steady (ambient) and sudden.
Steady noise is the noise that doesn’t change, for instance, like hiss, hum, and buzz. Cleaning up steady background noise will enhance the overall listening experience, improve the clarity in dialogue tracks, and remove interferences such as electrical hum.
Sudden background noise includes a variety of intrusive sounds, such as ringing cell phones, beeps, coughs, traffic noise, etc.
Equalization is a powerful audio editing tool that allows you to fine-tune and enhance the sound of your audio tracks. Adjusting the frequencies will enable you to highlight or diminish certain aspects of the audio, such as reducing the intensity of background noise or making dialogue clearer.
Sound Effects: Add sound effects to enhance realism and emphasize actions (e.g., footsteps, product interactions).
Sound effects add depth, texture, and realism, making the visuals more tangible and believable. For instance, in a cooking training video, the sizzle of hot oil in a pan will enhance realism.
Use sound effects that match the context of your video. For instance, if you are making a humorous marketing video, you can use funny, dramatic, or comical sounds to create humor and induce laughter.
Music

In video, music is the silent narrator, shaping our perception and deepening our connection to the story. The different levels of music editing are like:
Background Music: Select appropriate background music that matches the video’s tone and pace.
Good background music will enhance your video, whereas a poor choice can distract or annoy viewers.
Compelling background music helps viewers stay engaged, encouraging them to experience the emotions you’re trying to evoke.
You do have an assortment of choices. But when it comes to portraying your company culture, nothing can beat background music that expresses optimism, enthusiasm, and excitement.
Mixing: Balance the audio levels of dialogue, music, and sound effects to ensure clarity and cohesion.
Video is 50 percent visual and 50 percent sound.
Mixing is blending the different audio elements—dialogue, sound effects, and background music—into a cohesive track that is a perfect match to the visual narrative.
The mixing stage is all about balance and dynamics. The focus should be on creating a superlative audio experience for your viewers. Hence, each sound element must be distinctly perceptible and contribute effectively to the storyline.
5. Adding Visual Enhancements

Graphics and Titles
Text Overlays: Add titles, lower thirds, and text overlays to provide additional information.
Text overlays make your content accessible to all users.
Titles highlight important scenes, making your video easier to follow.
A lower third, as the name implies, is typically located in the lower third of the frame. It’s a text title or graphic overlay set in the lower part of the screen.
Text overlays give viewers a visual prompt to reinforce the information they hear, helping improve retention.
Motion Graphics: Incorporate animations and motion graphics to highlight product features and key points.
Motion graphics is a visual communication system that blends graphic design and animation to develop dynamic and engaging content.
Motion graphics design allows you to break down complex concepts into bite-sized, visually digestible chunks, ensuring your message sticks with your audience and opens new opportunities.
The latest trends in motion graphics are reshaping the visual storytelling universe all the time. Integrating virtual reality (VR) and 3D animation elements stands out notably among these trends.
Color Correction and Grading
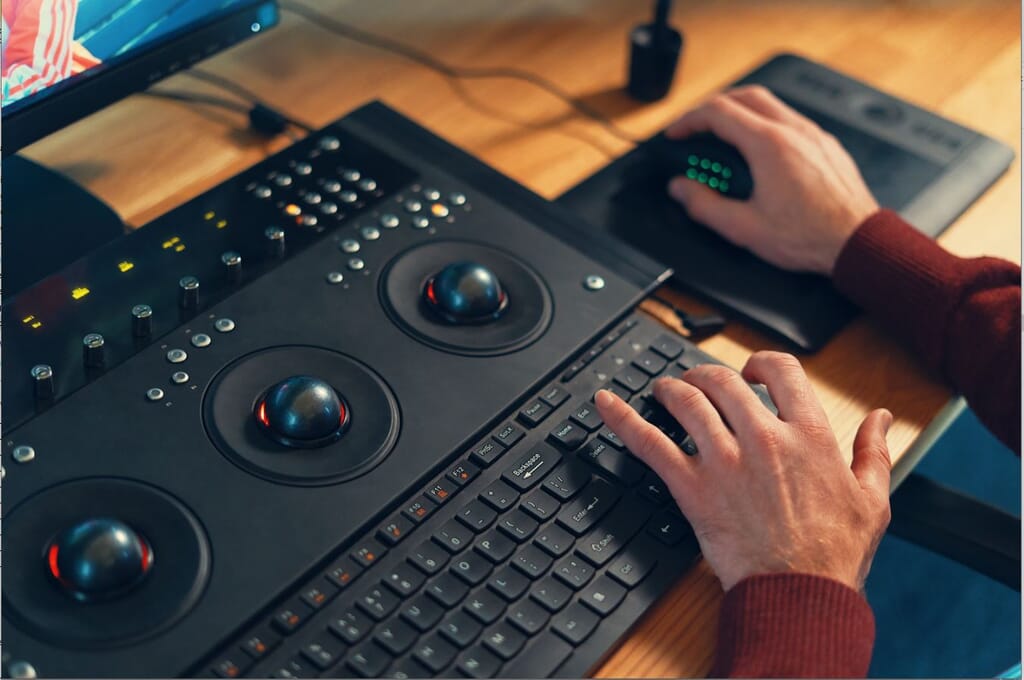
Color is the unspoken language of film; it shapes how we see, feel, and remember each scene. Also, through color correction, footage is brought to life; through color grading, it’s given soul.
Color Correction: Adjust the color balance, exposure, and contrast to ensure consistent and accurate colors across all clips.
The primary objective of color correction is to ensure that all the frames in a scene match each other and there are no disturbing visual inconsistencies. Adjusting colors enables you to make your video as vibrant or striking as you desire.
Color correction is typically done first, as raw footage is inclined to be oversaturated, and you need to balance the colors out.
Color Grading: Apply a color grade to create a specific look or mood that aligns with your brand’s visual identity.
Color grading is where you can truly express your artistry. It requires adding filters and modifying the shades of your footage to create the mood or aesthetic you desire.
The adjustments you make will result in a scene looking warmer or cooler. The changes are pretty simple. You’ll need to desaturate colors for a bleak look or enhance some colors to make a scene pop.
So, color correction will help you achieve a natural, balanced look, and color grading will help you stylize your footage to improve the storytelling.
Visual Effects
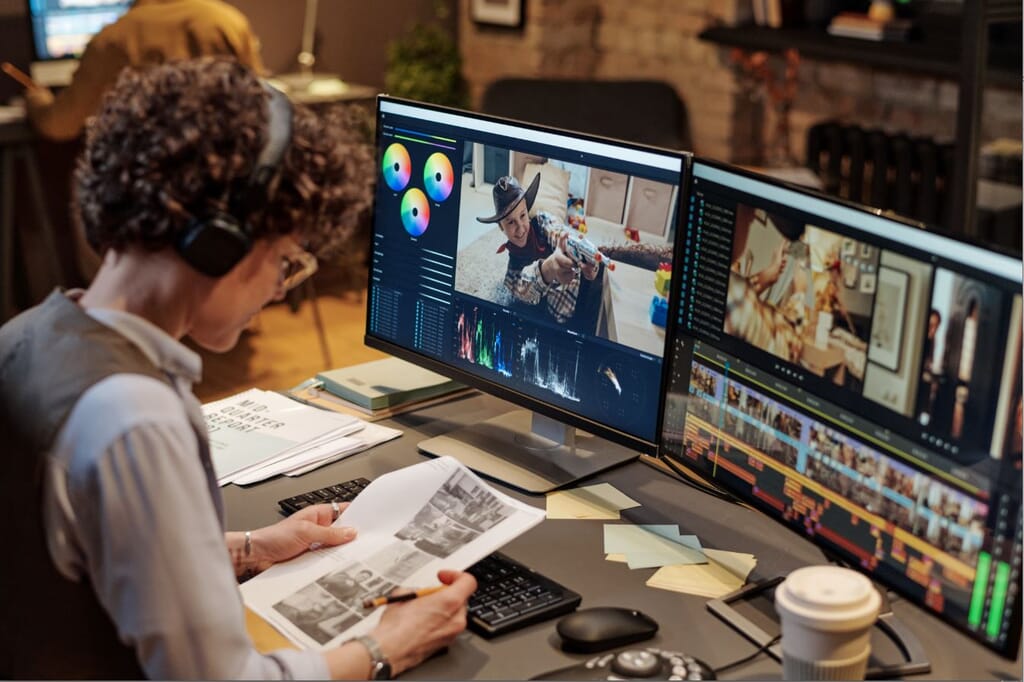
Visual effects aren’t just about spectacle; they’re about building worlds that make the impossible feel real. VFX is not just technology; it’s an art form that paints with pixels and brings the unreal to life. Good VFX supports the story; great VFX becomes part of the story, immersing the viewer entirely.
Special Effects: Add special effects to your videos, such as slow motion, time-lapse, or green screen compositing, as needed.
Special Effects (SFX), also known as Visual effects (VFX), is simply an illusion. This powerful storytelling tool is a trick of the eyes that makes viewers believe what they see.
Adding a touch of special effects to your video can set the desired mood and make your content more exciting. Special effects also allow you to push the limits of creativity and imagination.
The key advantage of adding special effects to your videos is they help you tell a better and more gripping story, making viewers believe in unbelievable things.
Consider the movies Jurassic Park, Game of Thrones, King Kong, and Titanic. Millions of viewers worldwide bought each one of these stories. Why?
Wonderful special effects made viewers believe the stories and totally love them. The movies stole their hearts, and they craved for more.
6. Reviewing and Polishing
Quality Check
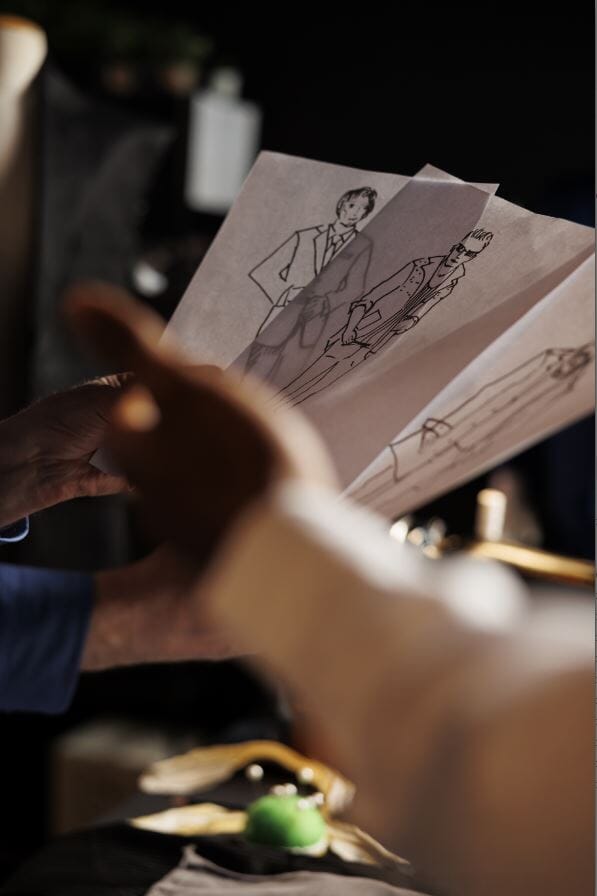
Proof Viewing: Watch the entire video multiple times to check for any errors, inconsistencies, or areas for improvement.
Video proofing will ensure that your video is visually pleasing and easy to watch. In this step, you meticulously scrutinize different aspects of the video to enhance the overall quality.
The focus is on technical elements such as video and audio quality, editing perfection, and interactive element functionality. The risk of errors is greatly reduced, helping you to maintain your brand image across all video content.
Feedback: Share the video with team members or stakeholders for feedback and make necessary revisions.
A video feedback tool enables your team to share, review, edit, and approve a video project. You can share the draft video with your team and obtain valuable and specific real-time feedback that helps fast-track the approval process.
The advantages are two-fold: effective communication and reduced waiting time. As a result, you achieve a polished and professional presentation.
Final Adjustments
Audio Levels: Ensure all audio levels are balanced and consistent.
Audio normalization involves adjusting the volume of an audio track so that a consistent and balanced level is maintained throughout.
Often, different platforms have specific loudness benchmarks. Normalization helps to fulfill these standards while preventing clipping or distortion that can typically occur with excessive volume peaks.
Audio normalization ensures a more refined and consistent sound, making it simpler for your audience to enjoy the video without continually adjusting the volume manually.
Visual Consistency: It will determine the success of your video.
What is Visual Consistency?
Visual consistency relates to uniformity in the various visual elements of your video, such as color schemes, brand logos, fonts, and overall style.
Achieving this uniformity is vital, as it creates a distinct and professional brand image that your target audience can easily identify. Instant recognition and recall of your content builds trust and loyalty, boosting engagement rates.
The best way to achieve visual consistency is to review the whole video and make the required tweaks to ensure consistency and cohesiveness. Double-check that all visual elements are cohesive and professional.
Timing: Confirm that the video adheres to the desired length and pacing.
One of the toughest components of video editing is getting the timing and pacing right to create a seamless narrative.
Effective editing will set the pace and rhythm of your video, which is vital for maintaining viewer attention and emotional engagement. Pacing is the pulse of your story. It plays a decisive role in video storytelling, regulating the rhythm and flow of your video.
7. Exporting and Delivering

Export Settings
Output Format: Choose the appropriate export settings based on the intended distribution platform (e.g., MP4 for web and MOV for higher quality).
Consider factors such as file size, accessibility, and resolution to ensure the video reaches its desired audience.
Resolution and Bitrate: Set the resolution and bitrate to achieve the best quality without excessive file size.
To export your video in the best quality, adjust the settings to the highest resolution. Make sure the bitrate is high by using a first-rate codec like H.264. For peak results, check and recheck the aspect ratio and frame rate.
Example: Choose an appropriate resolution for your intended platform (e.g., 1080p (Full HD) for YouTube and 720p for other social media sites).
Exporting
Render: Render the final video, ensuring all your edits are processed and applied. Export the final video using your editing software’s rendering options.
File Naming: Save the exported file with a clear, descriptive name.
Delivery
Platform Upload: Upload the video to the intended platforms (e.g., YouTube, Vimeo, social media, and website).
Backup: Save backup copies of the final video and all project files in multiple locations (e.g., external hard drives and cloud storage).
Conclusion
In the world of marketing, post-production is the art of refinement, ensuring every frame tells a story that aligns with your brand. In marketing, every edit is an opportunity to refine your message and connect with your audience on a deeper level.
Post-production video editing is the essence of your marketing campaign, where you meticulously craft raw footage into a captivating narrative. This all-important phase is vital for storytelling, refining visuals and audio, and perfecting the final product so that it fulfills the highest quality benchmarks.
With the right process, team, and tools, you can transform tons of raw footage into a flawless, engaging video that fascinates your target audience and accomplishes the business goals of your project.
At Picsera, we offer professional video editing and graphic design services unique to your business. We edit your raw footage or clips to your taste, adding special effects, text, logos, overlays, animations, sound effects, and more.
Need help with editing photos? Let us do the work for you. Start your FREE trial today! Your email address...

Picsera was founded in 2014 by David Sinai, a serious ameteur photographer who spent the first 20 years of his career working in the financial technology space. With a track record of building innovative solutions and working with offshore partners, David started Picsera to help photographers work more efficiently by enabling them to outsource their image editing. With very affordable rates and incredibly fast turnaround times, photographers from a variety of industries (eCommerce, real estate, weddings and portrait studios) enjoy larger, more successful businesses while still maintaining more time for their families, friends, and hobbies. Today, David and his team at Picsera assist all kinds of content creators with 3D modeling and rendering and video editing. When David is not working you’ll find him spending time with his family, mountain biking, or capturing landscapes throughout South Florida with either his pro cameras or drone.


