Compelling product pictures attract even casual shoppers and force them to take a second look.
That’s the reason every photographer wants to capture the perfect product picture.
In today’s online universe, only the products that look sharp and exceptional will sell.
So, an exceptional product image is a must.
Introduction to Product Photography Lighting
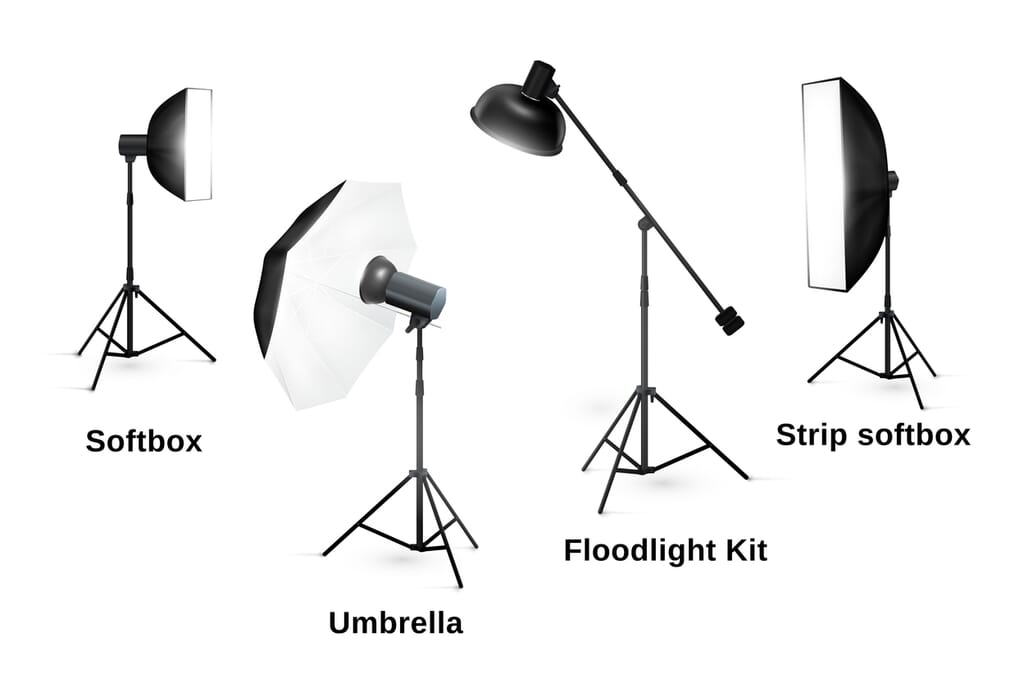
The main aim of product photography lighting is to create a clear, attractive image that makes the product appealing to potential buyers.
In this detailed blog post, you will learn about the different types of lighting for product photography, different attributes of lighting, photography lighting equipment and different lighting modifiers. You will also learn about choosing the right lighting for product photography and light box recommendations to eliminate/create shadows in images.
Lastly, you will examine the common mistakes to avoid in product photography lighting and useful tips for getting the best results.
1. Types of Lighting for Product Photography
- Natural Light: Natural light suits outdoor or nature-related products to perfection. You can use natural light from windows or skylights to create soft, natural-looking photographs.
- Continuous Lighting: These affordable lights, also known as LED lights, emit a constant, steady light. They are a great solution for beginners keen on capturing flawless product photos.
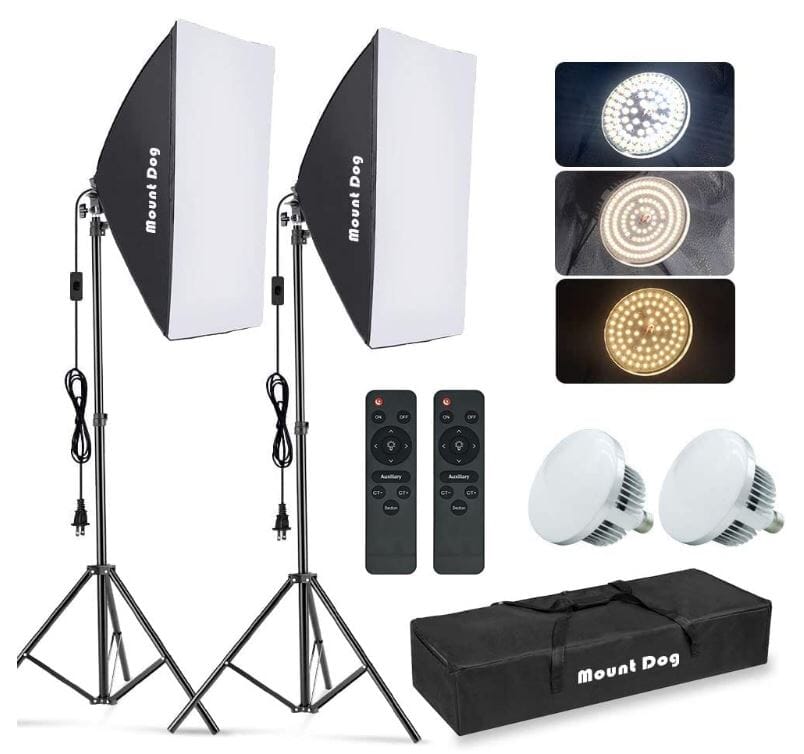
Neewer Continuous Lighting for Product Photography
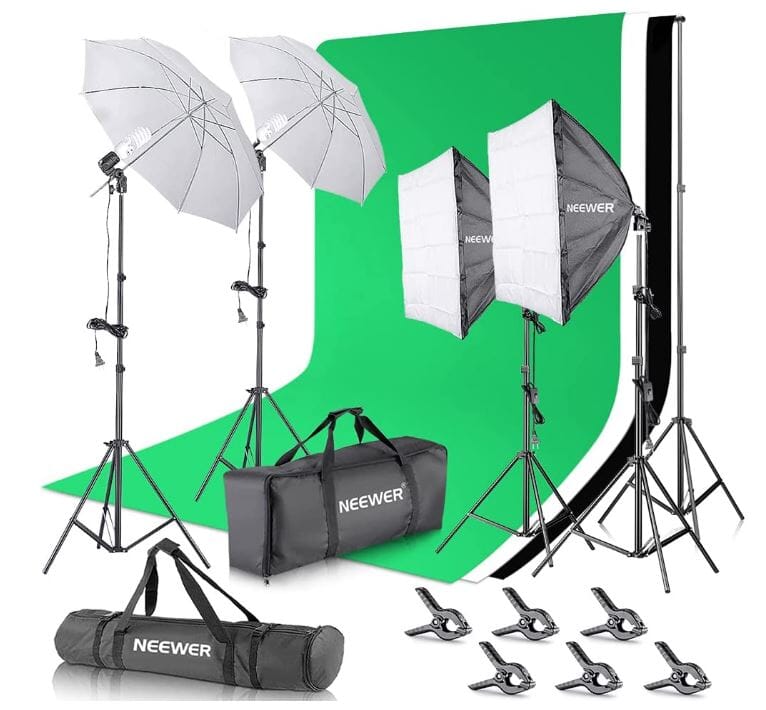
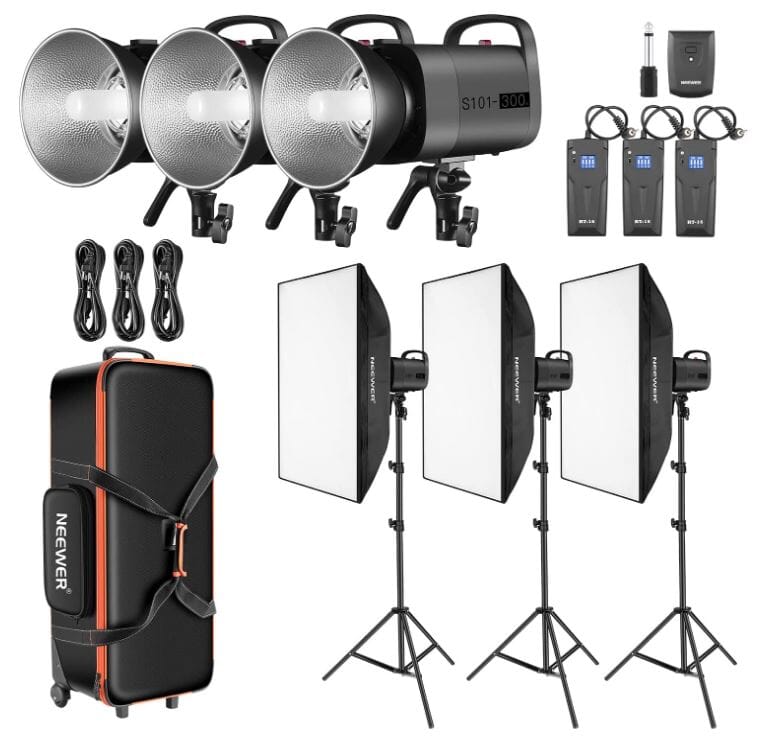
- Studio Strobes: Strobes are powerful flashes that emit a bright burst of light. They are generally used in studio settings and can be used to create a varied range of lighting effects. Studio strobes are less popular with basic product shots, but you can use them with premium products to achieve a more dramatic look.
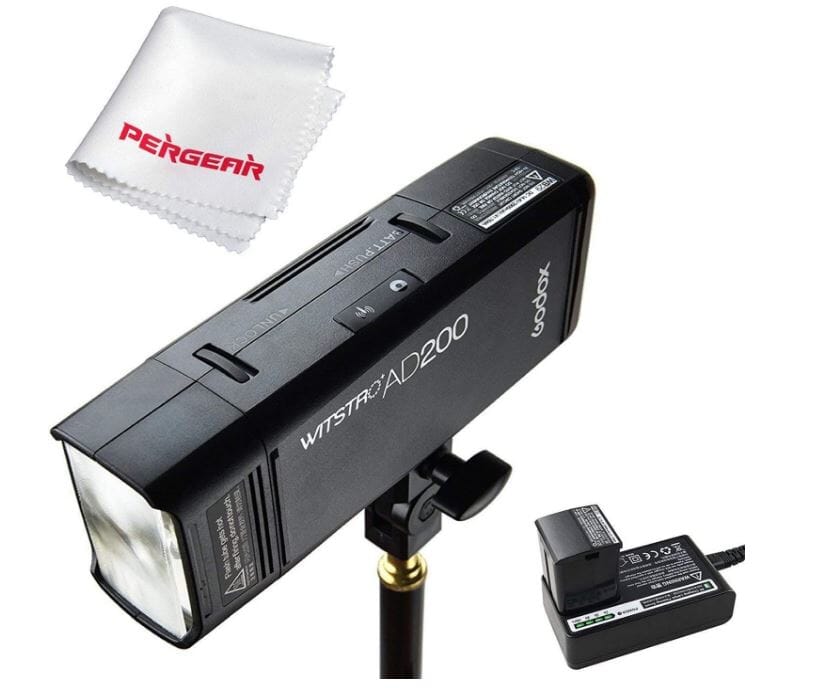
Neewer 900W Studio Strobe Flash
2. Attributes That Characterize Product Photography Lighting
Photography is, in essence, writing with light.
The five elementary characteristics of light are Direction, Intensity, Color Temperature, Contrast, and Quality.
- Direction: Direction denotes the angle at which the light is hitting the product. Consider where the light is coming from. When the light comes from the front of the product, it’s called Frontal Light, Flat Light, or Front Light. When it’s from the side of the product, it’s called Side Lighting. And when it’s from behind the product, it’s called Backlight.
- Intensity: Intensity refers to the brightness or strength of the light. A high-intensity light creates a brighter image, while a low-intensity light creates a darker image.
iii. Color Temperature: Color temperature indicates the color of the light, measured in Kelvin (K). Warmer light (around 2700K or 4400℉) will have a yellow-orange hue, while cooler light (around 6500K or 11240℉) will have a blue-white hue.
- Contrast: Contrast indicates the range of brightness in a photograph, from lightest to darkest. A high-contrast photograph will have bright highlights and dark shadows. That is, the highlights may be pure white, or the shadows may be pure black. A low-contrast photograph will have little tonal contrast. Instead of pure whites and blacks, you’ll see plenty of gray tones.
- Quality: Quality of light indicates its softness or hardness. Hard light creates distinct shadows and highlights, while soft light creates a more diffuse, uniform light.

Outsource Photo Editing Services
Picsera offers photo editing and retouching, so you can focus on your business instead. Spend a fraction of the cost, time, and effort of photography with Picsera. Click here to find out more.3. Product Photography Lighting Tools
Regardless of the type of photography lighting you use, you’ll need tools to control the direction, intensity, color temperature, contrast, and quality of the light. These tools are known as lighting modifiers, and they include:
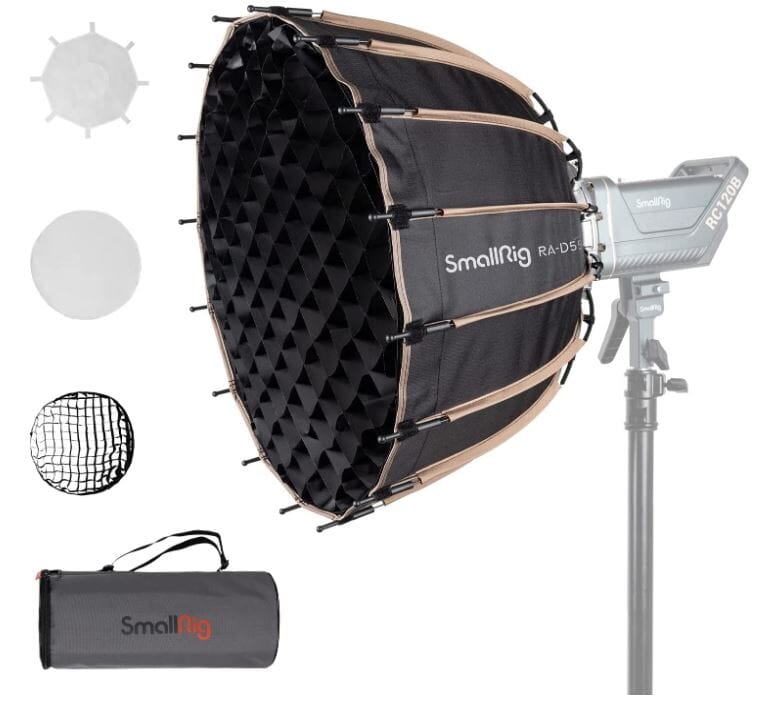
A. Softboxes: These boxes are placed around a light source to diffuse the light, creating a softer, more uniform light. They come in an assortment of sizes and shapes to fit different light sources.
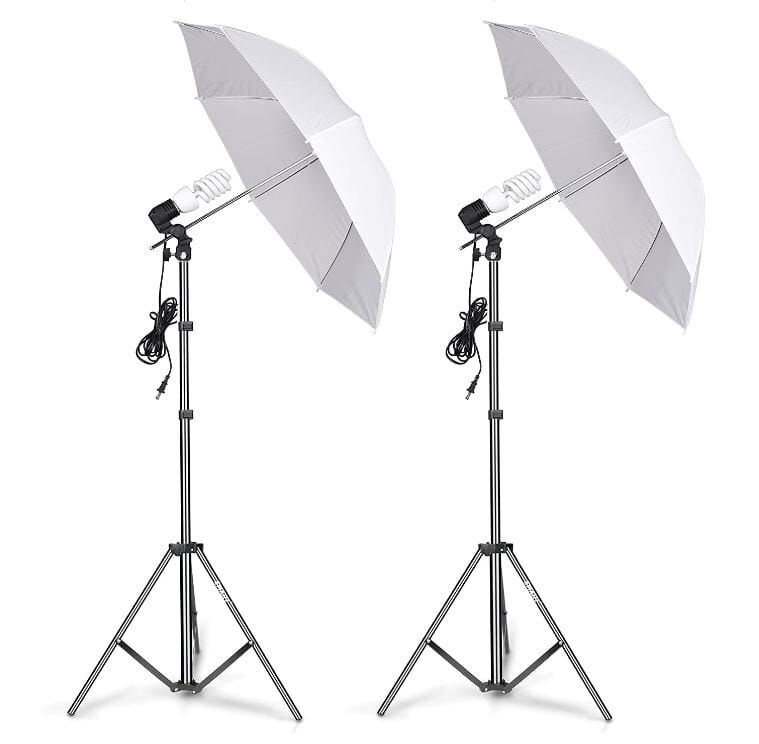
B. Umbrellas: Umbrellas also diffuse the light like softboxes, but you can set them up easily as they are more portable. They come in various shapes and sizes. The two basic styles include shoot-through umbrellas, which allow light to pass through them, and reflective umbrellas, which bounce light back onto the product.
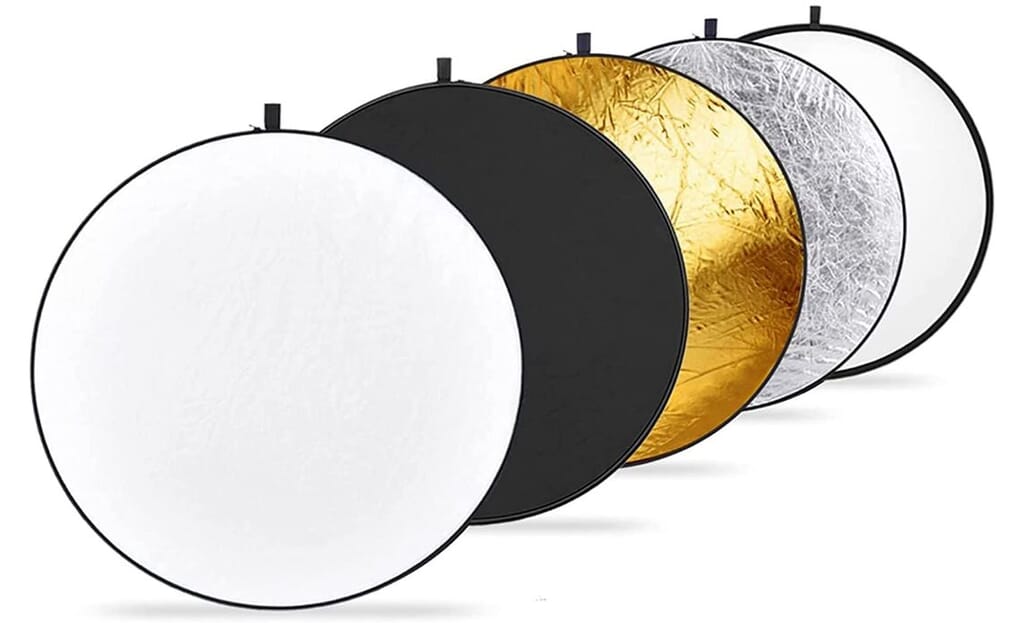
C. Reflectors: Reflectors bounce light back onto a product, adding highlights and filling in shadows. They come in different colors, such as silver, gold, white, and black, and can be used to create different effects.
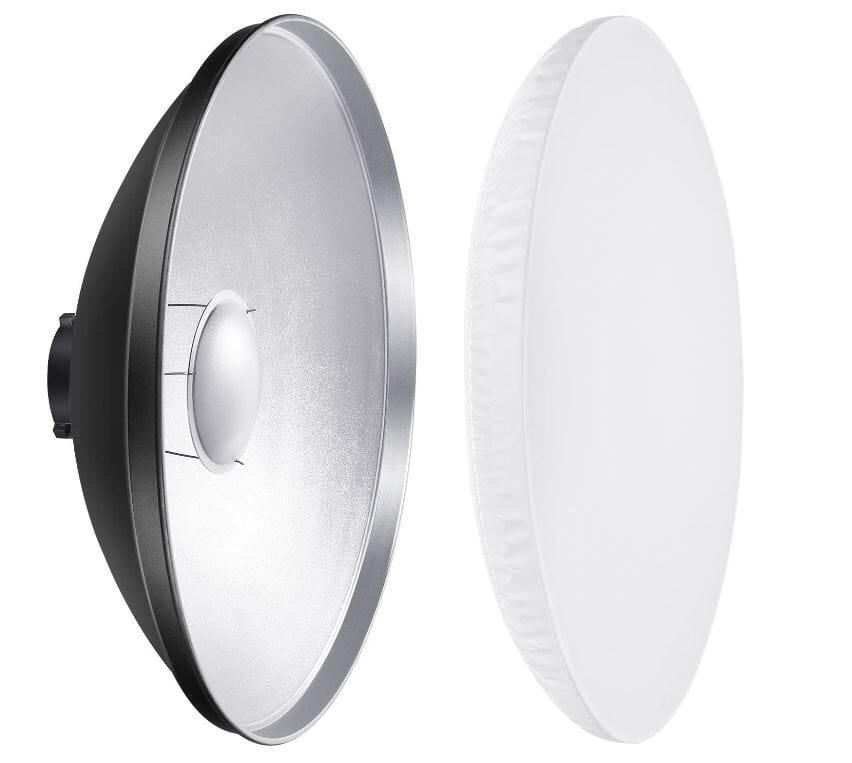
D. Beauty Dish: This shallow dish-like reflector is used to create a more dramatic lighting effect. With this tool, you can highlight textures and details to create a more dramatic look.
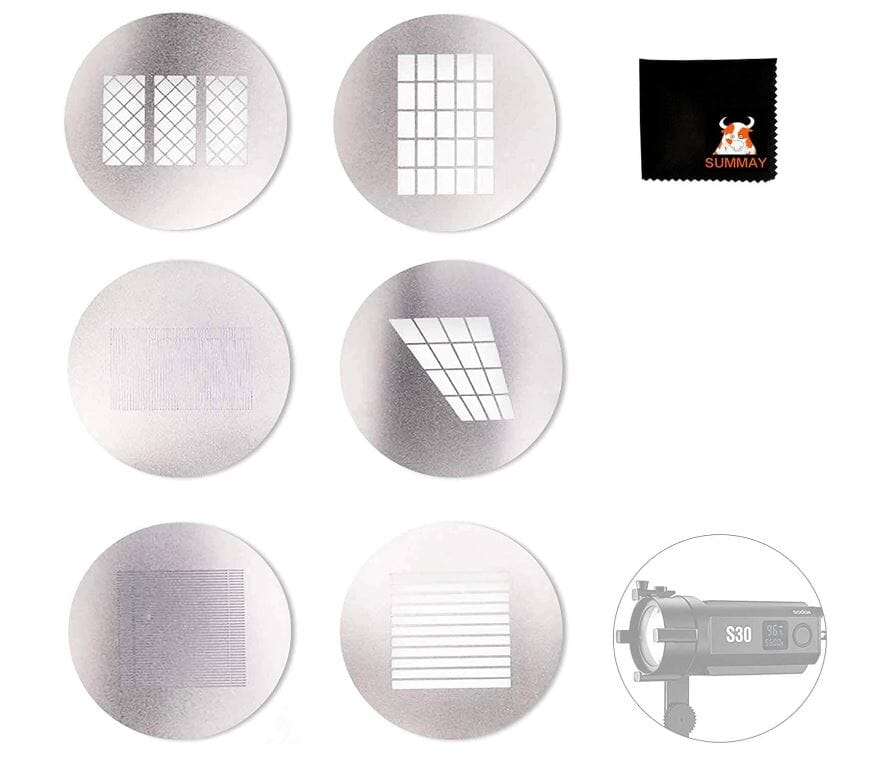
E. Gobos: These small sheets of metal or other materials are placed in front of a light source to block or shape the light. You can use gobos to create patterns or textures on the product.
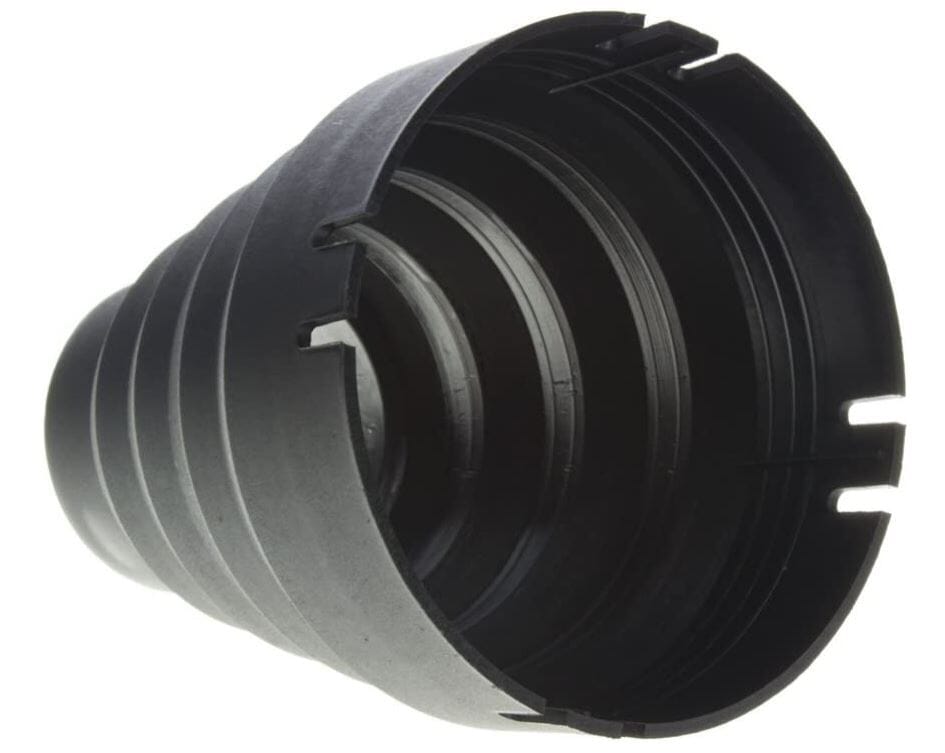
F. Snoots: These small, cone-shaped devices are placed over a light source to direct the light in a specific direction and create a narrow beam of light.
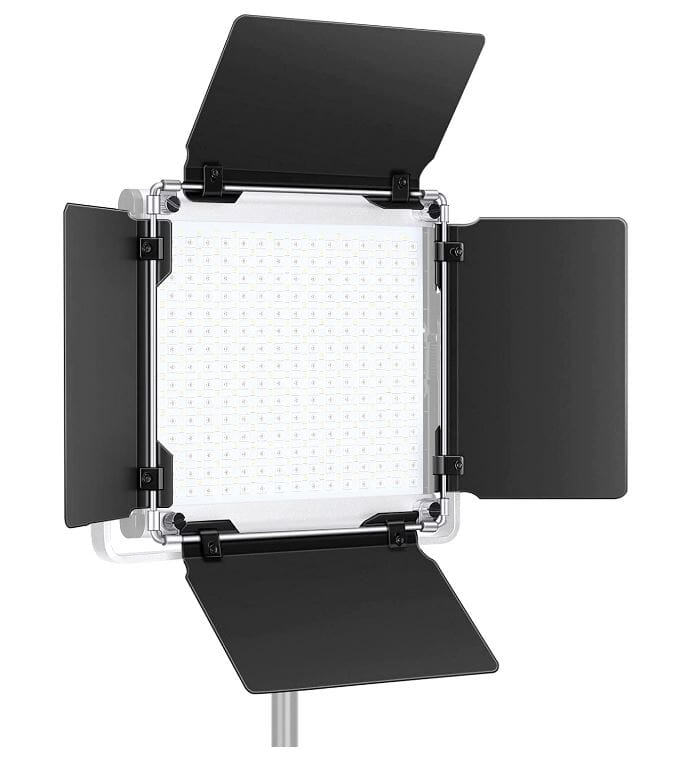
G. Barn Doors: These metal flaps are attached to the front of a light source to control the spread of light. Barn doors can be used to shape the light or to flag off unwanted light.
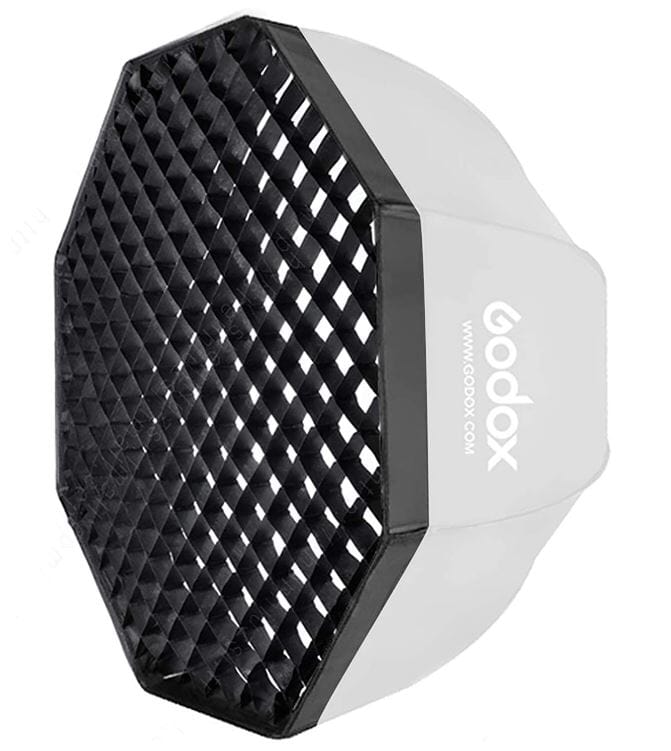
H. Grids: These small, honeycomb-shaped devices are placed over a light source to control the spread of light. You can use grids to create a more focused beam of light or to create a more dramatic effect.
4. How to Choose the Right Lighting for Product Photography
Choosing the right lighting for product photography depends on three factors: the type of product, the desired look and feel of the image, and the available equipment. In addition, the following are the other important guidelines to consider:
- The type of product: The type of product you are photographing will affect the type of lighting you use. For example, a glossy fashion product like a watch or a jewelry piece will require different lighting than a matte product like a clothing piece.
- The desired look and feel: The desired look and feel of the image will also affect the lighting you use. For example, you’ll need warmer light to create a warm, cozy look, while you may require cooler light to create a cool, clinical look.
- The available equipment: The equipment you have available will also play a role in the lighting you use. For example, if you only have one light source, you may need to use a reflector to fill in shadows.
- The direction of light: The direction of the light will affect the shadows and highlights in the image. For example, front light will create a flat image with minimal shadows, while side light will create more dramatic shadows and highlights.
- The intensity of the light: The light intensity will affect the overall brightness of the image. For example, a high-intensity light will create a brighter image, while a low-intensity light will create a darker image.
- Choosing the right background: The background you choose will affect the overall look and feel of the image. For example, a white background will create a clean and simple look, while a black background will create a more dramatic look.
- Test the lighting: Always test the lighting before taking the final shot. Adjust the lighting as necessary to achieve the desired look and feel.
The best way you can choose the right lighting for product photography is through experimentation. Try different lighting setups and see how they affect the final image, and adjust accordingly.
With practice, you will develop an understanding of how different lighting setups affect the final image. Eventually, you will be able to choose the right lighting for any product and situation.
5. Light Box Recommendations for Various Product Types
- StudioBox: StudioBox is a portable and easy-to-use light box that can be used for a wide range of product types. Its built-in LED lights and selection of backdrops can be easily swapped out to suit the product.
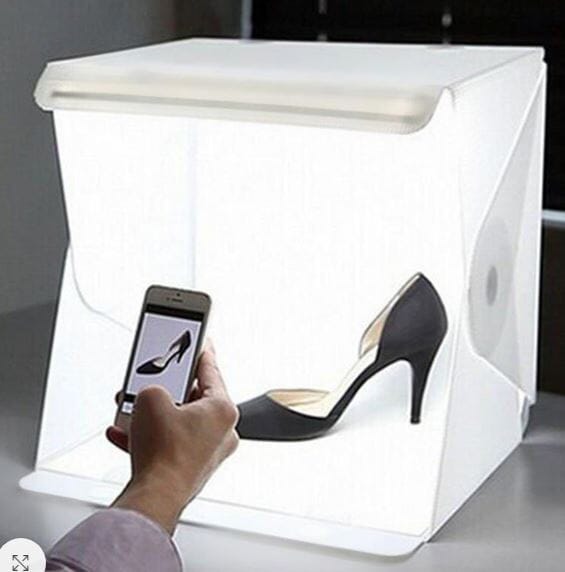
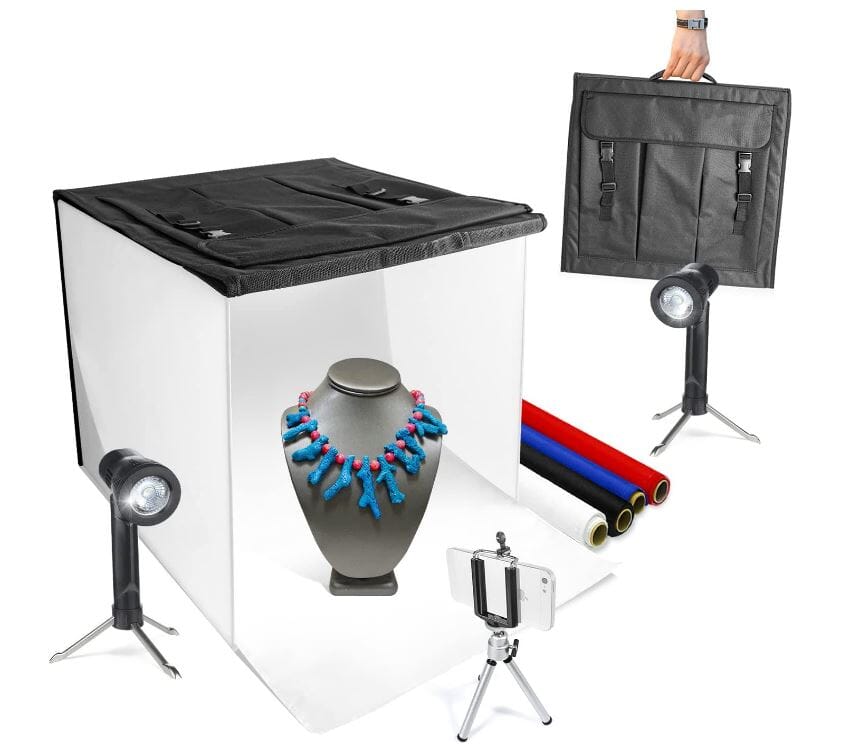
- LimoStudio: LimoStudio is another popular light box that comes with built-in LED lights, a variety of backdrops, and a removable front panel for easy access to the product.
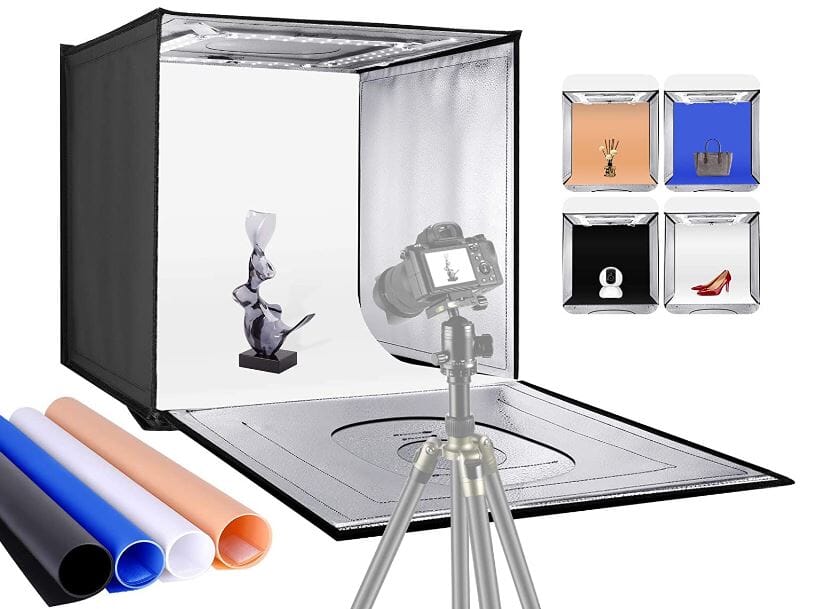
- Neewer: Neewer is a professional photography equipment brand that offers a wide range of light boxes and accessories. The brand offers a variety of sizes and designs, including a pop-up light box and a collapsible light box that is easy to set up and take down.
D. AmazonBasics: AmazonBasics is a budget-friendly option that offers a simple and easy-to-use light box. It comes with built-in LED lights, a removable front panel, and a variety of backdrops.
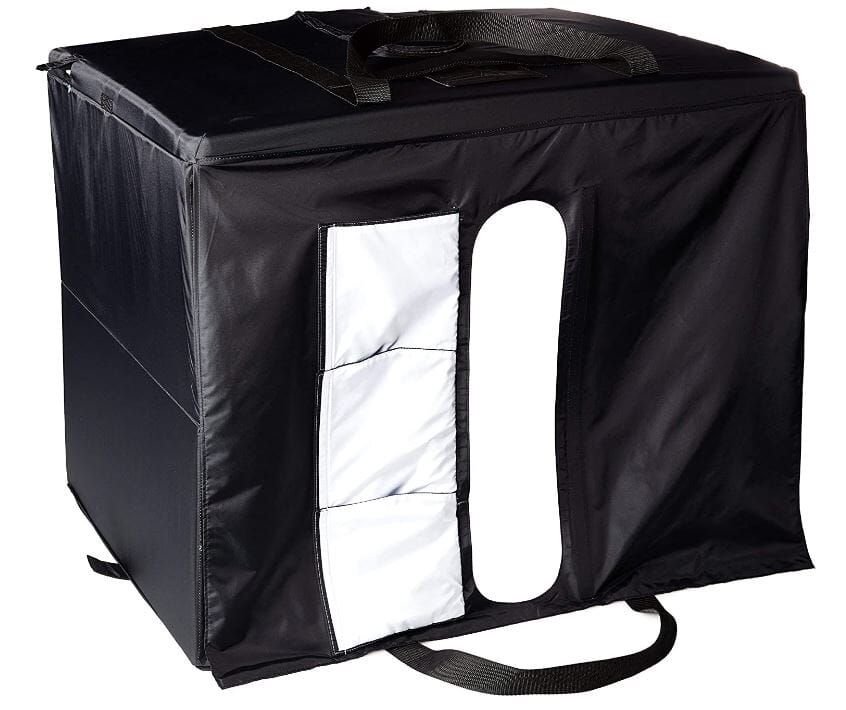
- MyStudio: MyStudio is a professional-grade light box that offers an assortment of sizes and designs to suit different needs. It offers a range of lighting options, including fluorescent and LED lights and a variety of backdrops and backgrounds.
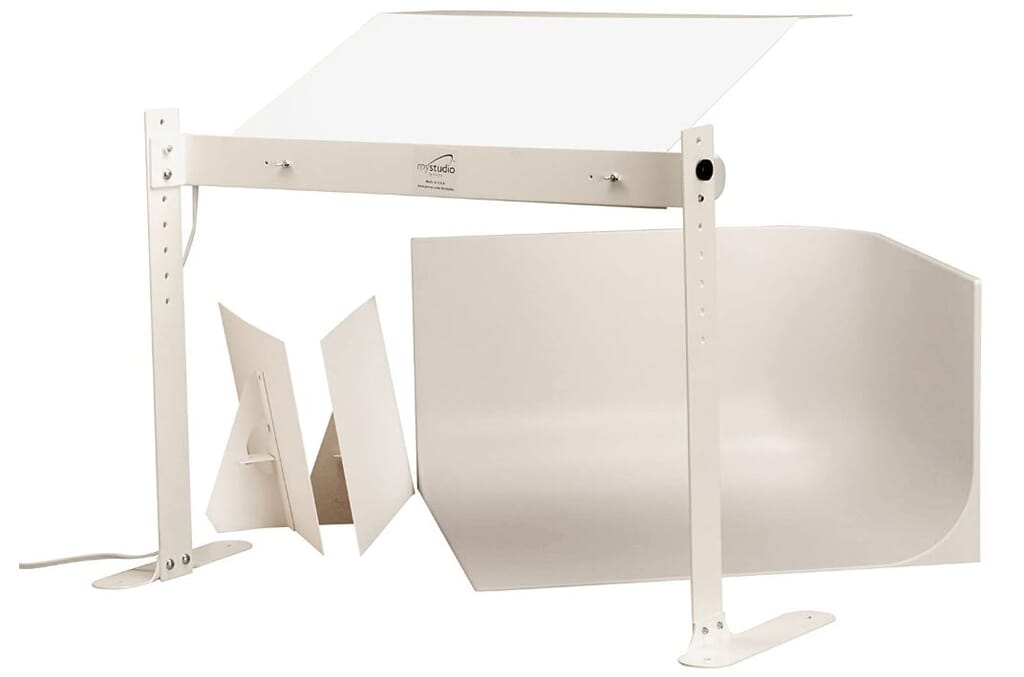
Important Note: The size of the light box should be in the right proportion to the size of the product you’re shooting. A small light box is suitable for small items like jewelry, while a larger light box is better suited for a larger product like a furniture piece.
6. Common Mistakes to Avoid in Product Photography Lighting
Product photography lighting can be challenging. If you’re not careful, you can easily make mistakes that can affect the final image. The following are some common mistakes to avoid when setting up lighting for product photography:
- Not using enough light: Not using enough light can result in an underexposed image. As a result, the product will look dull and unappealing. Make sure to use enough light to illuminate the product and create a well-exposed image.
- Using harsh light: Harsh light can create deep shadows and hard highlights that can be unflattering to the product. Instead, use soft light or diffused light to create a more natural and pleasing look.
- Not paying attention to reflections: Glossy or reflective products can create unwanted reflections or glare. Be mindful of the position of the lights with respect to the product to minimize reflections and glare.
- Not considering the color temperature: Color temperature can affect the overall appeal of the image. Be mindful of the color temperature of the lights you are using and how it will affect the final image.
- Not using the right background: The background can also affect the overall look and feel of the image. Be mindful of the background you are using and how it will affect the final image.
- Not testing the lighting: Always test the lighting before taking the final shot. Make slight lighting adjustments as necessary to achieve the desired look and feel.
- Not using Light Modifiers: Light modifiers such as reflectors, soft boxes, and umbrellas can help to control and shape the light, allowing you to create the desired look and feel.
- Not paying attention to the light direction: The direction of the light can also affect the final image by creating shadows and highlights. Pay attention to the direction of the light and how it will affect the final image.
You can confidently create professional-looking and appealing product images by avoiding these common mistakes. Experiment with different lighting setups and techniques to find what works best for your particular product to achieve the desired look and feel.
7. Tips for Getting the Best Results with Product Photography Lighting
Here are some must-follow tips for getting the best results with product photography lighting:
- Use a light box: A light box can create a controlled and evenly-lit environment for product photography. This will eliminate shadows and create a consistent, professional-looking image.
- Use diffused light: Diffused light creates a more natural and pleasing look for the product. You can achieve this by using soft boxes or umbrellas to soften the light or by diffusing the light with materials such as white translucent fabric.
- Pay attention to reflections: Glossy or reflective products can create unwanted reflections or glare. Be mindful of the position of the lights and the angles of the product to minimize reflections and glare.
- Experiment with different lighting setups: Experimenting with different lighting setups and techniques can help you find the best look and feel for your particular product. This can include using different light sources, adjusting the position of the lights, and using different types of light modifiers.
- Use a tripod: A tripod can keep the camera steady and eliminate camera shake during exposure. This will ensure that the final image is sharp and in focus.
- Use a white background: A white background will make the product stand out and create a clean, uncluttered look. You can achieve this by using a white seamless background or by using a white reflector.
- Take multiple shots: Take multiple shots of the product from different angles and lighting setups. This will give you a variety of images to choose from, making it easier to select the best one for your needs.
- Shoot in RAW format for the highest degree of flexibility with managing the brightness and warmth of the exposure.
- Take advantage of post-processing: Take advantage of post-processing tools such as Lightroom and Photoshop to adjust the brightness, contrast, color, and other settings of the final image. Alternatively, you can outsource your post-processing tasks. This can help to improve the overall look and feel of the image.
Summary
You can create professional-looking and appealing product images by following the solutions detailed here. Remember that lighting is a key factor in product photography and is essential for capturing the best image of your product. Learn to be patient. Don’t expect exceptional results fast. Instead, experiment with different lighting setups until you find the perfect one.
Need help with editing photos? Let us do the work for you. Start your FREE trial today! Your email address...

Picsera was founded in 2014 by David Sinai, a serious ameteur photographer who spent the first 20 years of his career working in the financial technology space. With a track record of building innovative solutions and working with offshore partners, David started Picsera to help photographers work more efficiently by enabling them to outsource their image editing. With very affordable rates and incredibly fast turnaround times, photographers from a variety of industries (eCommerce, real estate, weddings and portrait studios) enjoy larger, more successful businesses while still maintaining more time for their families, friends, and hobbies. Today, David and his team at Picsera assist all kinds of content creators with 3D modeling and rendering and video editing. When David is not working you’ll find him spending time with his family, mountain biking, or capturing landscapes throughout South Florida with either his pro cameras or drone.


