Skip to content
Home / Technology & Tips / Page 5

Technology & Tips

Picsera

The ABC’s of Color Correction

Make your hard work show its true colors!

It’s time to move on to the second stage of the photo editing workflow. The second stage involves making global adjustments to your photographs. In this stage, you are now focused on taking your beautiful images and tweaking them to bring out their true character and flare.

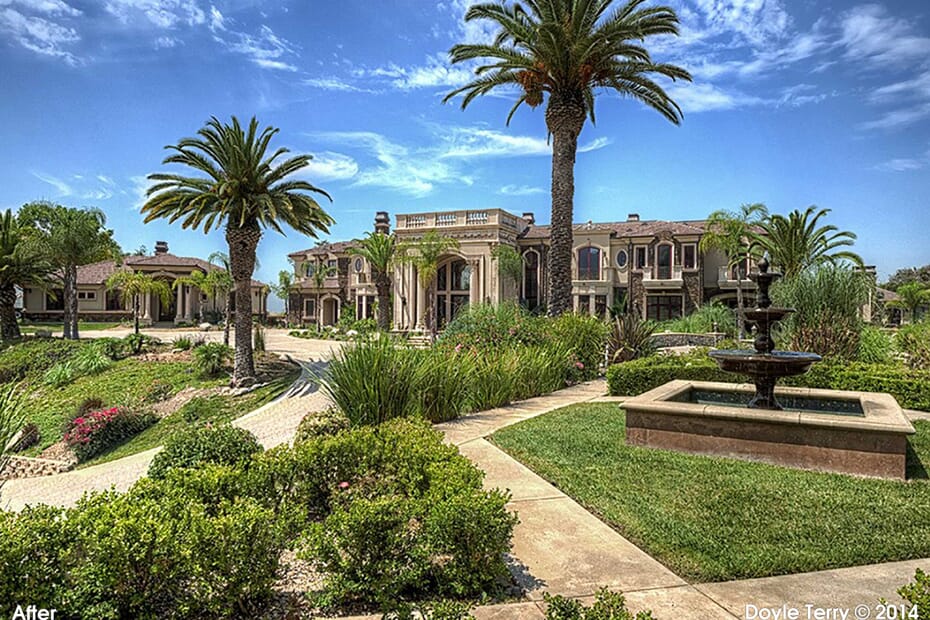
Here’s an example of a file that has had global adjustments made. The white balance, black and white points, vibrancy, and exposure were slightly adjusted to enhance the image:

Image-1

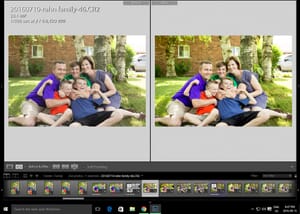
Most photographers will use Lightroom or Camera Raw to make color corrections to their images. They are extremely easy to use and very popular. Lightroom was designed for photographers. It contains all the required dialogue boxes within the develop module for making color corrections. Camera RAW is just as powerful as Lightroom both programs will produce beautiful results. They use the same image editing engine so feel free to adjust your work using this program.Read More »The ABC’s of Color Correction

Picsera

3 Easy Steps to Start Your Photo Editing Workflow

Like any process, it’s important to have a good base to your workflow. Photographers need to understand just how important post-processing is to the whole business of photography. You should picture your workflow as a tree. The roots have to be strong for the tree to grow. Without a solid and efficient process of importing, backing up, keywording, and copyrighting your images the rest of your workflow will suffer. Being efficient means you increase your productivity and your profitability. For portrait and event photographers this means you spend more time finding prospective clients and shooting sessions. As much as I have advocated for post-processing we still make money taking photos not sitting behind a computer. Our post-processing methods need to enhance our business not slow it down. Follow these steps to enhance the first phase of your post production workflow.
Read More »3 Easy Steps to Start Your Photo Editing Workflow
Picsera

#TipTuesday: How to Selectively Add More Contrast & Punch to Your Images

Dehaze is a great tool for a lot of different types of work. Now it is available to be used with the Brush tool within Lightroom. Dehaze can automatically fix the “Washed Out” look when selectively lightening an area with the brush. See how the Lighthouse person looks rather foggy or hazy when only applying an increase in exposure to the dark shadow of his face and beard using the Selective brush.

Read More »#TipTuesday: How to Selectively Add More Contrast & Punch to Your Images